
Recently a co-worker was talking about making her own char siu bao’s, and how we should do a cook off between us. Never standing down from a fight, I said challenge accepted. Now lets be clear here — I’ve never made char siu bao before, but I have made mantou (steamed sweet bun) and bbq pork many times. How hard could it be? Lets find out!

Disclaimer: This will be a fairly lengthy post due to the amount of pictures (my camera battery died while taking these pictures!) and also the amount of variations that are available once you get the base down!
This post will be separated into three parts: The BBQ Pork filling recipe (with vegetarian option), the mantou bun, and the assembly.
Ingredients needed:
- 2 lbs Pork Belly (or tenderloin for a less fatty meat)
- Chinese 5 Spice mix (or make yourself with star anise, clove, cinnamon, fennel and peppercorns)
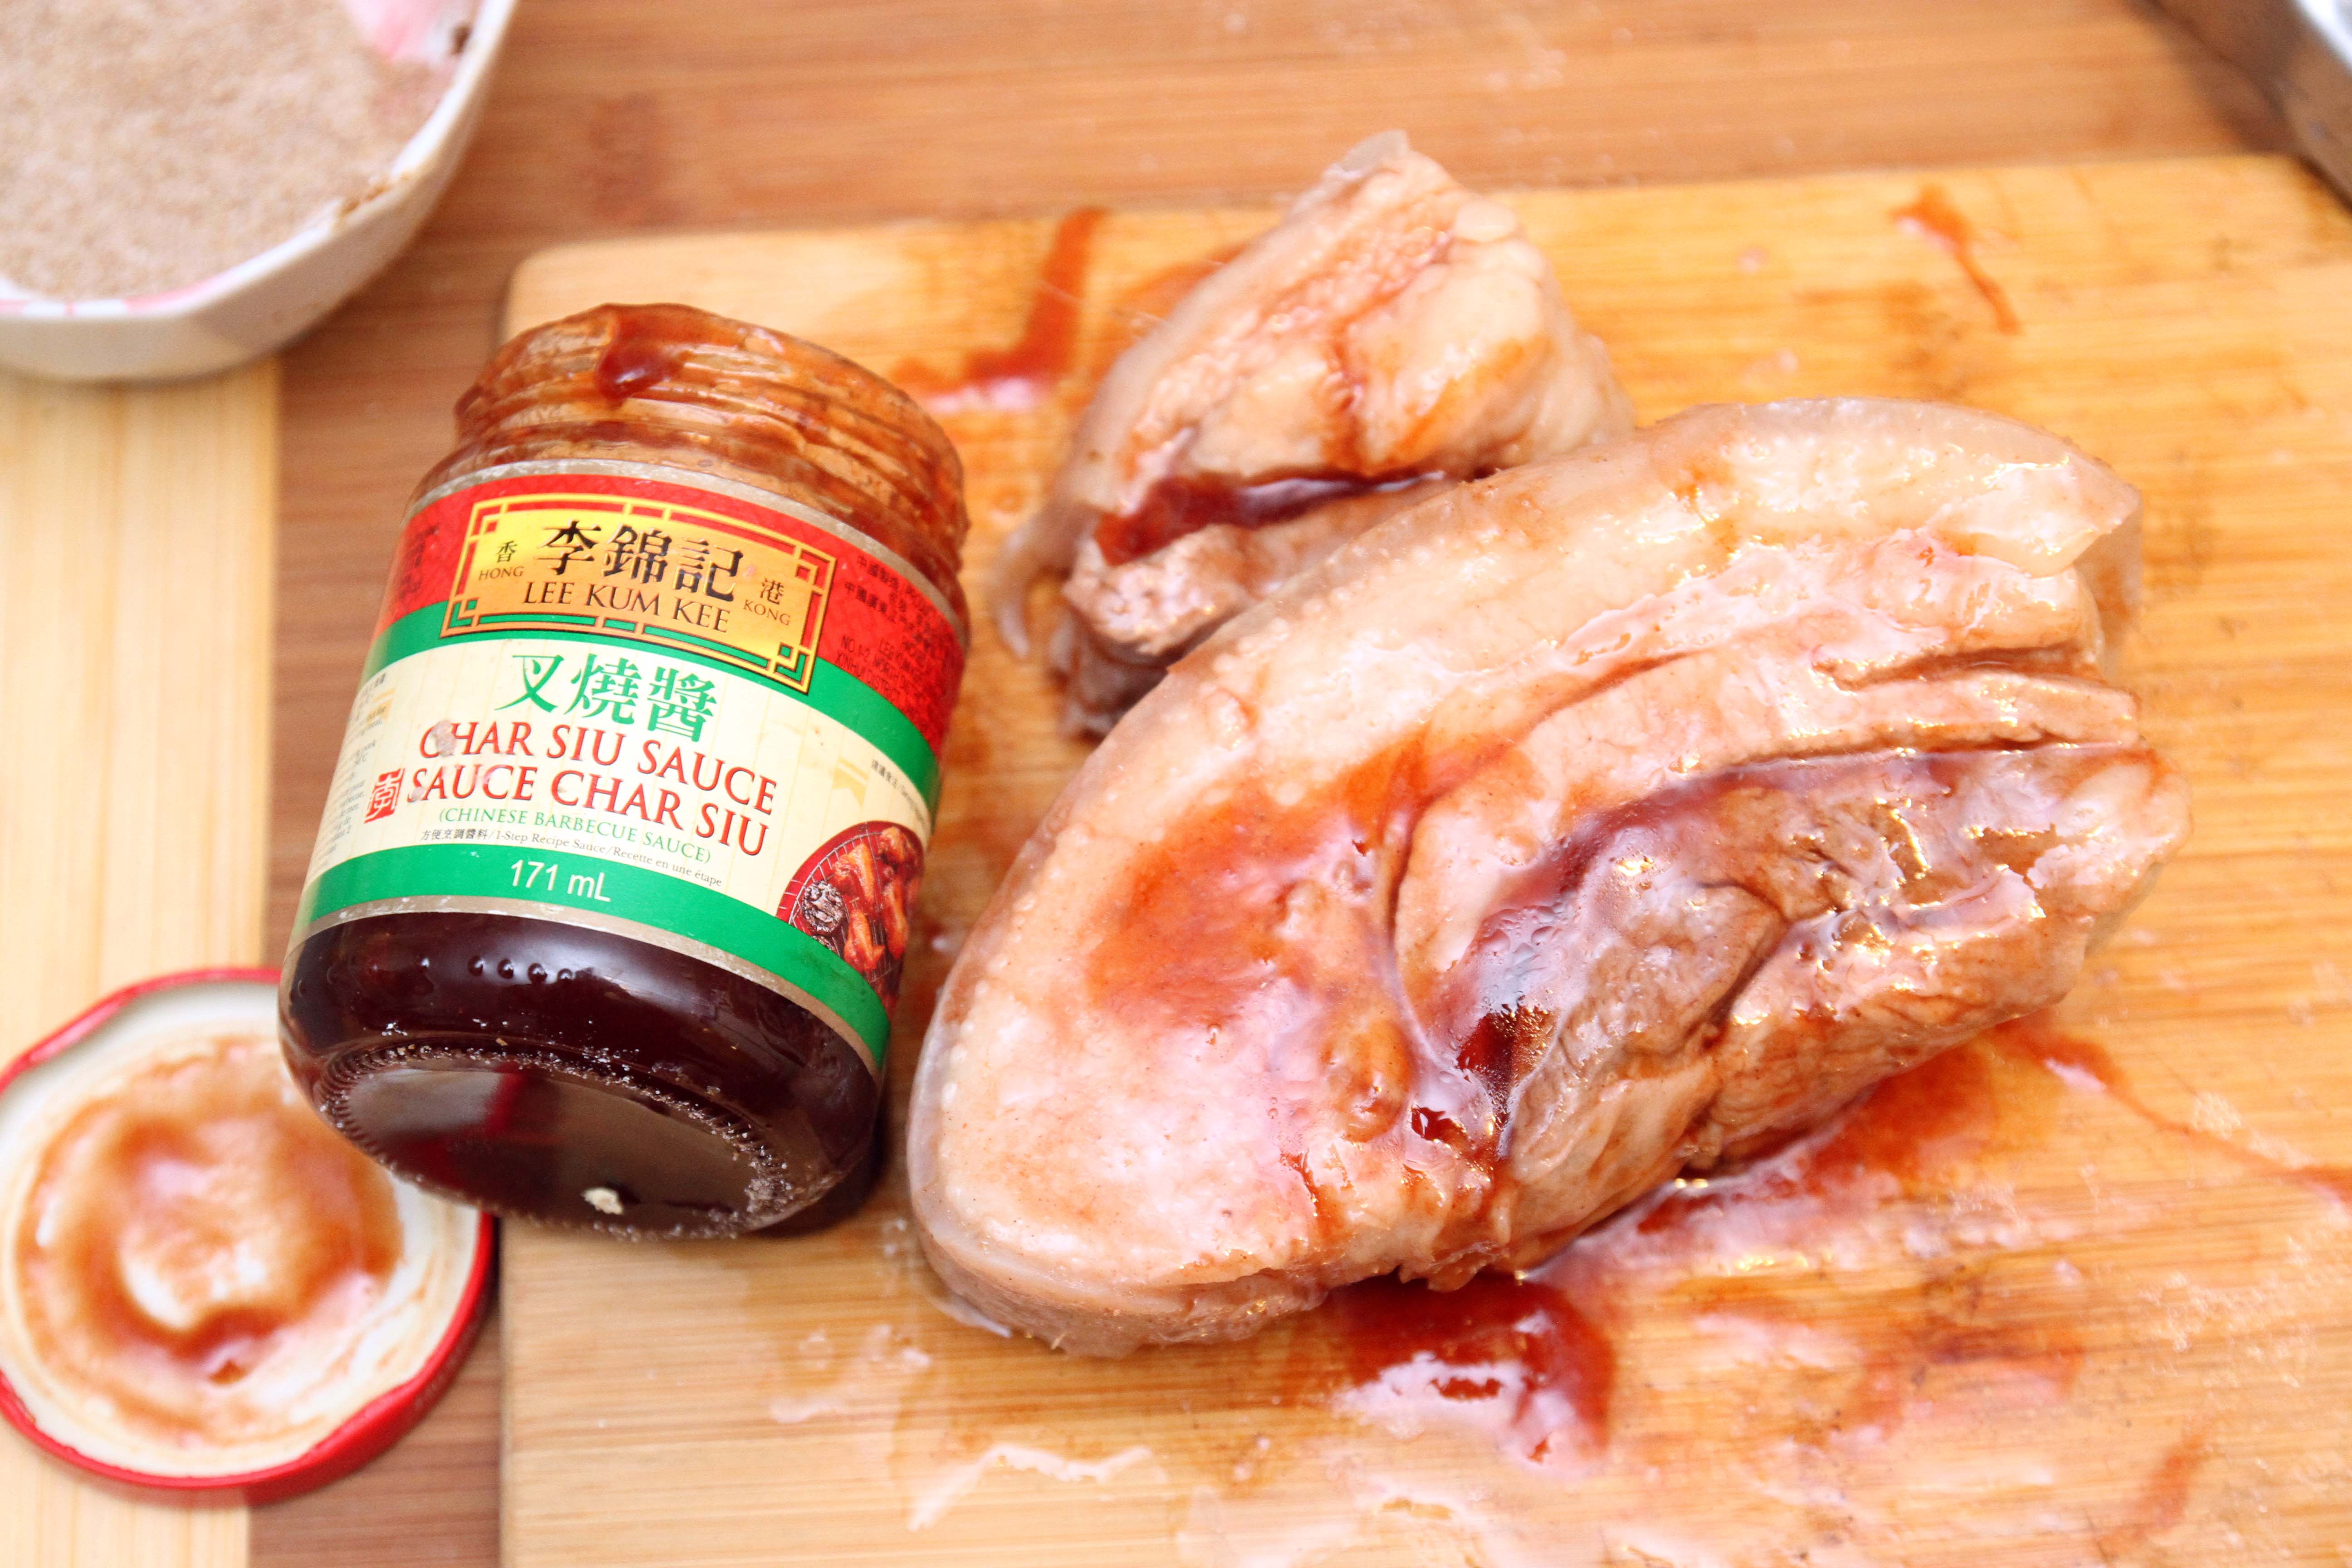
- Optional: Char Siu sauce
- Rice Vinegar
- Honey
- Hoisin sauce
- 1 Thumb worth of Ginger
- 3 Green Onions
- 1 Whole Garlic
- 3 Garlic Stems
- sugar
First, get your fatty pork belly and wash it clean, then pat dry. Since this isn’t a traditional pork bun, I use pork belly because it’s so much tastier!

Next mix your 5 spice mix, salt, and sugar together in a small bowl.

Boil the pork belly until nice and tender. I let it simmer for a minimum of 1 hour — usually 2.

When it comes out, the skin should be translucent, and soft. Let it rest for 10 minutes. Cross-hatch score the skin.

Generously apply the dry seasoning mixture to all parts except the skin. Rub the sides, and bottom so that a nice layer is formed.

OPTIONAL: If you have a jar of Char Siu sauce, you can apply it at this time in the same fashion. Don’t get any on the top skin. Sprinkle course salt on top of the skin instead.
Place the pork belly on a rack above a drip pan, and place in a 350 F pre-heated oven for 2 hours. Low and slow is always better, but you want to ensure the skin crisps up.
While the pork cooks in the oven for the 2 hours, now is the perfect time to start the dough for the mantou. Skip to the section below for instructions how to make it! (Don’t worry, I’ll tell you when to come back to this section!)
Once the belly has finished roasting in the oven, take it out and let it stand for 10 minutes.

At this point, it is perfectly ready to cut, serve and eat. Pair it with your favourite greens such as gai lan, and cauliflower rice! This would make an excellent homemade meal!

However, we are not stopping at this point. What we are going to do is make the filling for the bun. Slice up all of the pork belly, and place into your frying pan or wok. Prepare your veggies and sauces.

Dice the green onion and garlic stems. Mince the garlic and ginger.

You may have noticed my tool of choice for this post — a cleaver. If you are making a Chinese dish, you should use the proper tools! My mom always called this a ‘chopper’, as that’s what it did. This is the only tool you need for Chinese prep work!
Add all of the basics to the pan, and then drizzle the sauces on top.

Add in the rice vinegar, and bring it to a boil. You can add soy here, however I find that makes it too salty. We are going for a sweet taste in the buns.

I let this simmer for at least 30 minutes. Usually longer to infuse all the flavours together, and to make everything soft.
[VEGETARIAN OPTION]
Many people I know are trying to eat healthier, and/or are vegetarians. I decided to try out a mushroom based filling to see how it would turn out. All of the ingredients are exactly the same, except substitute mushrooms for the pork. I used king Oyoter mushrooms, enoki, white button, and shitake mushrooms. Slice the mushrooms coarsely.

Use the exact same procedure in the previous step
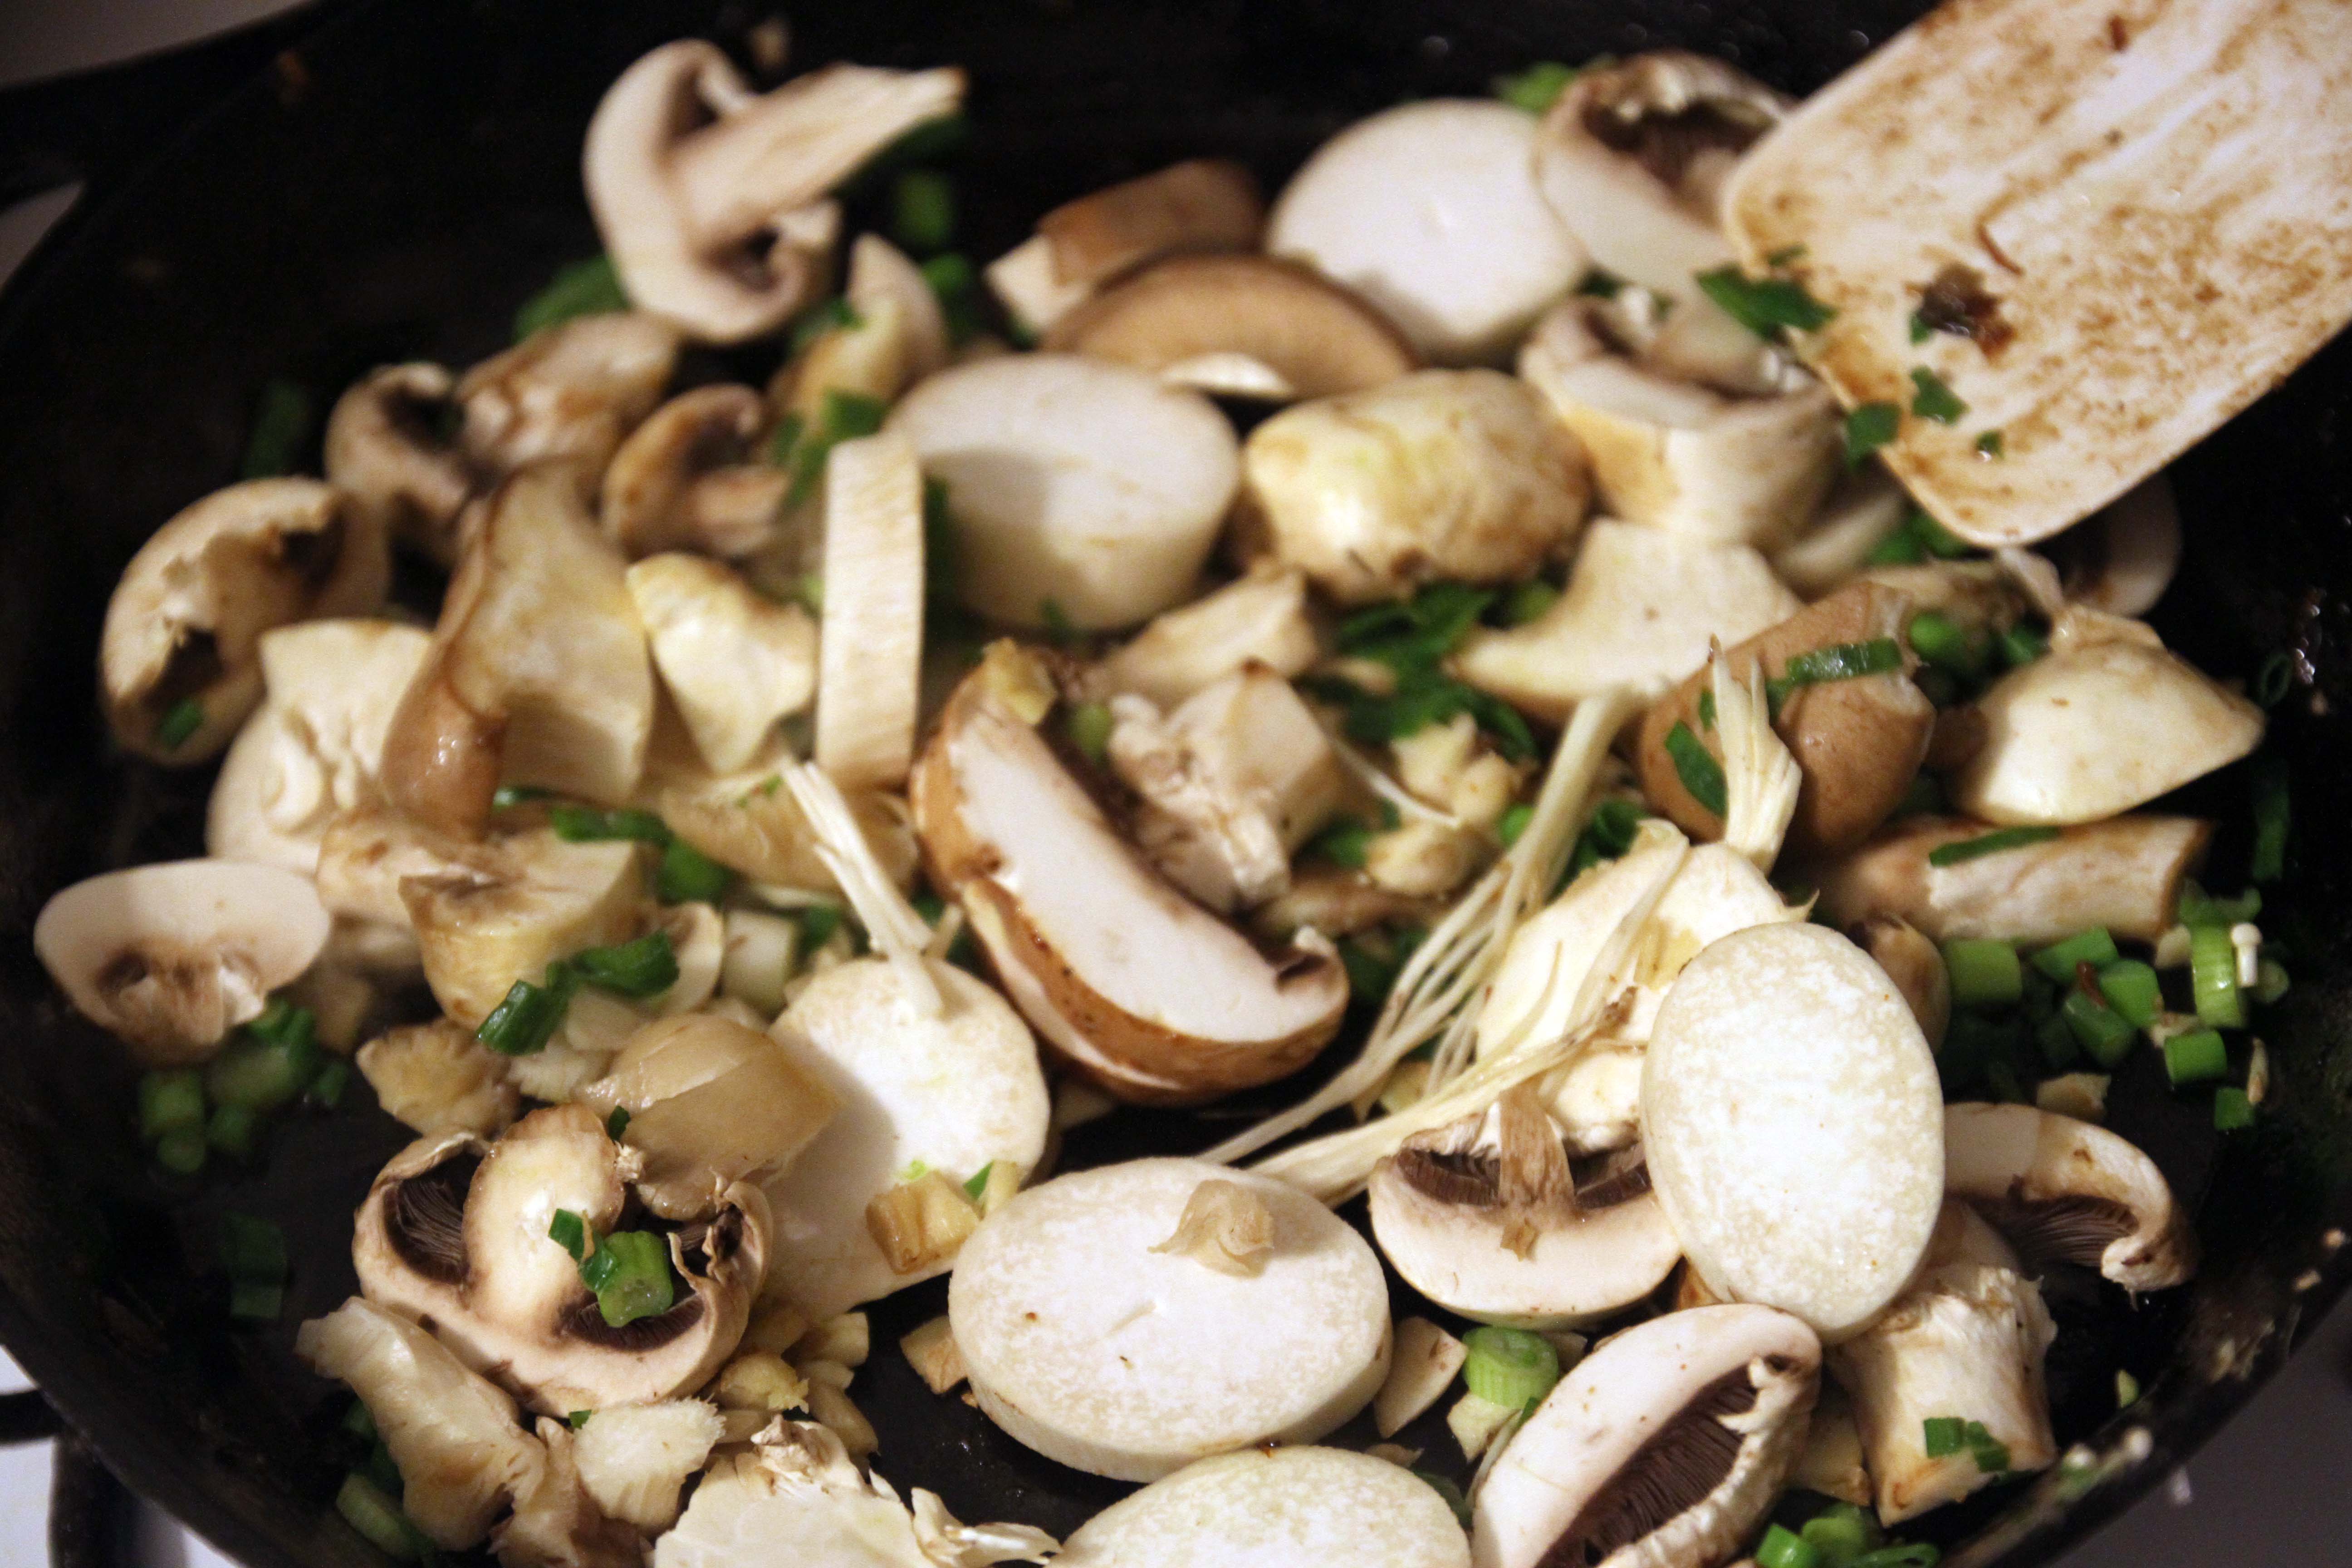
Fry them all up, add the sauces, and then simmer

Once again, this would be a great dish to serve as a meal entrée, but we aren’t stopping here!
Grab your chopper, and literally start hacking away at the mixture


Mince them into fine cubes

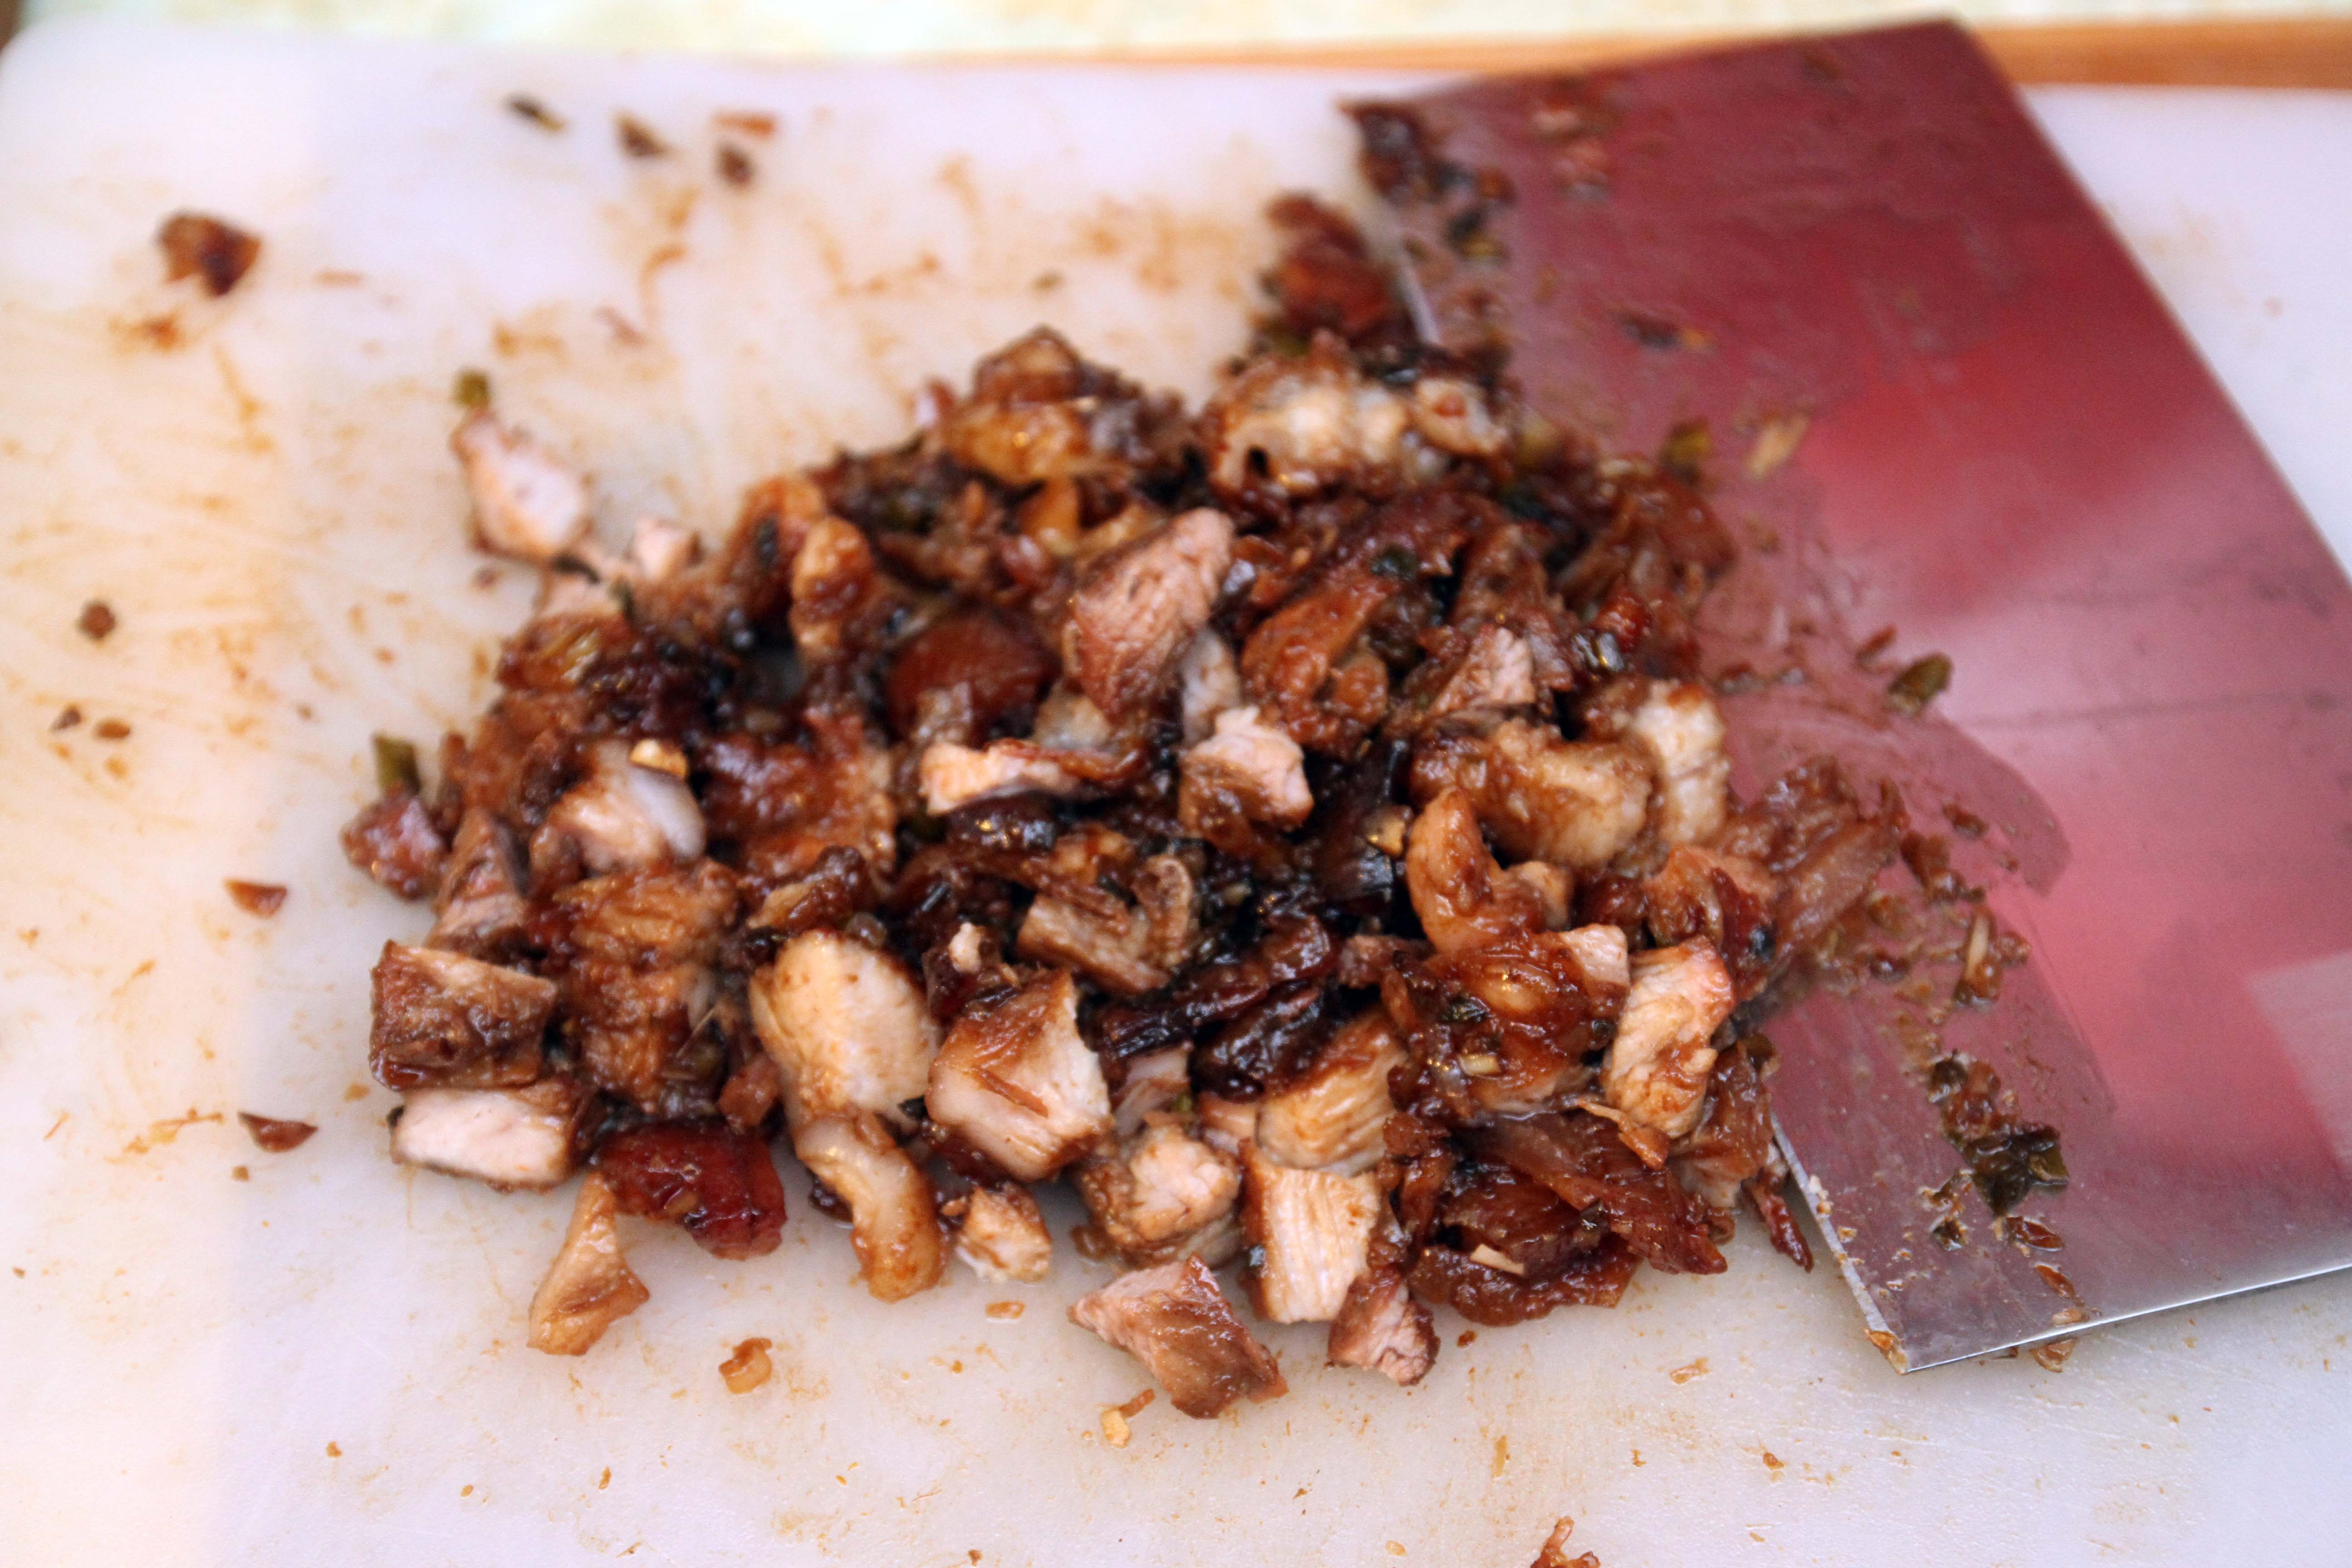
(notice how I used the clean board first for the vegetarian option, but put the pork on the used board after? I’m a thinking man like that!)
The filling is now complete and ready!
Ingredients:
- 3 cups flour (White flour looks and tastes the best, however you can easily substitute unbleached flour which is what I used. *EDIT* I made a second batch the next night using 3 cups whole wheat flour, 3 tablespoons of yeast, and 1 cup sugar)
- 1 cup milk (just under)
- 1 heaping tablespoon of yeast (I use 2 since it’s cold here)
- Baking Powder
- .5 cup refined white Sugar
- Salt
If you have a bread maker, or stand mixer, this will be a breeze. If not, get prepared to knead.
First throw all of the flour, a teaspoon of salt, the sugar, and yeast into the bowl. Form a well for where you will pour the liquid into.
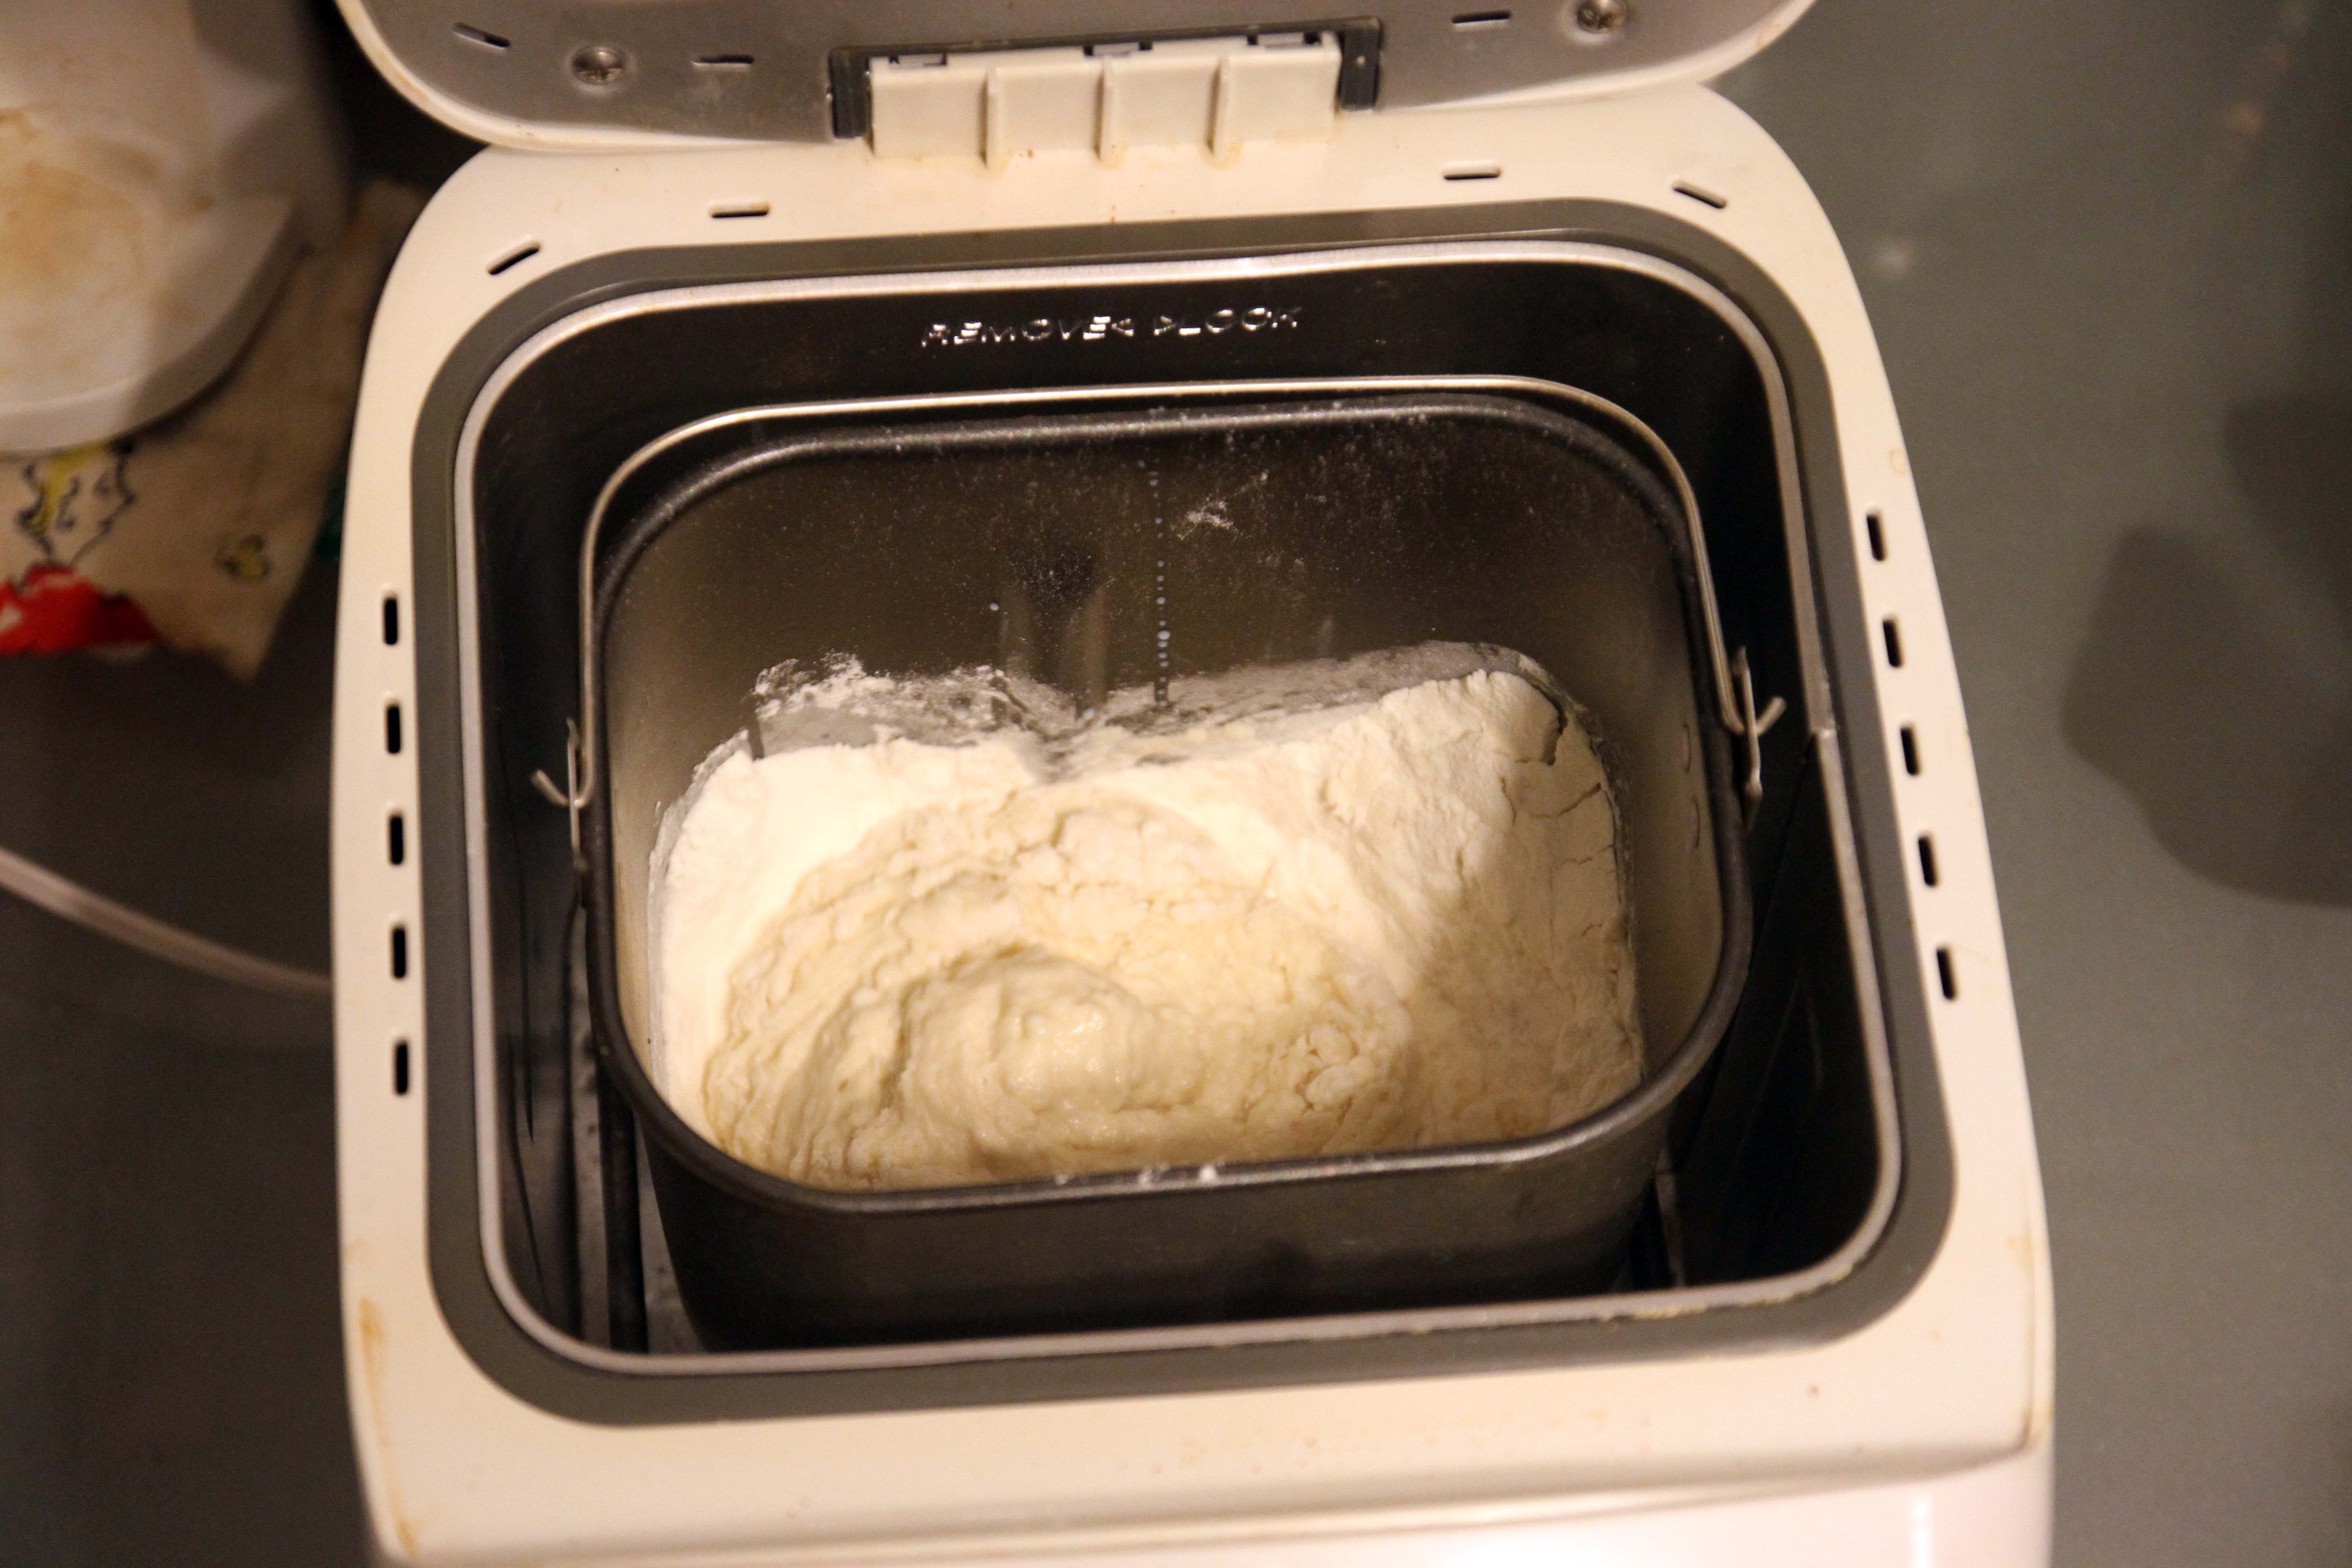
Turn the mixer on, and slowly add in about a tablespoon of water, and the milk. Watch the consistency of the dough to ensure it’s not too dry nor too wet. It should be extremely elastic, and slightly sticky.

Notice the action shot of the dough mixing? Yeah, it’s blurry because of the speed!
If you have a bread maker, just set it to dough, and walk away! If you are using a stand mixer, let it run for about 5 mins. If you are kneading it by hand, get ready to work it for 15 mins. Let it rest for 10 mins, and then repeat. Cover with a cloth, and keep it at room temperature so that it rises to double its size.
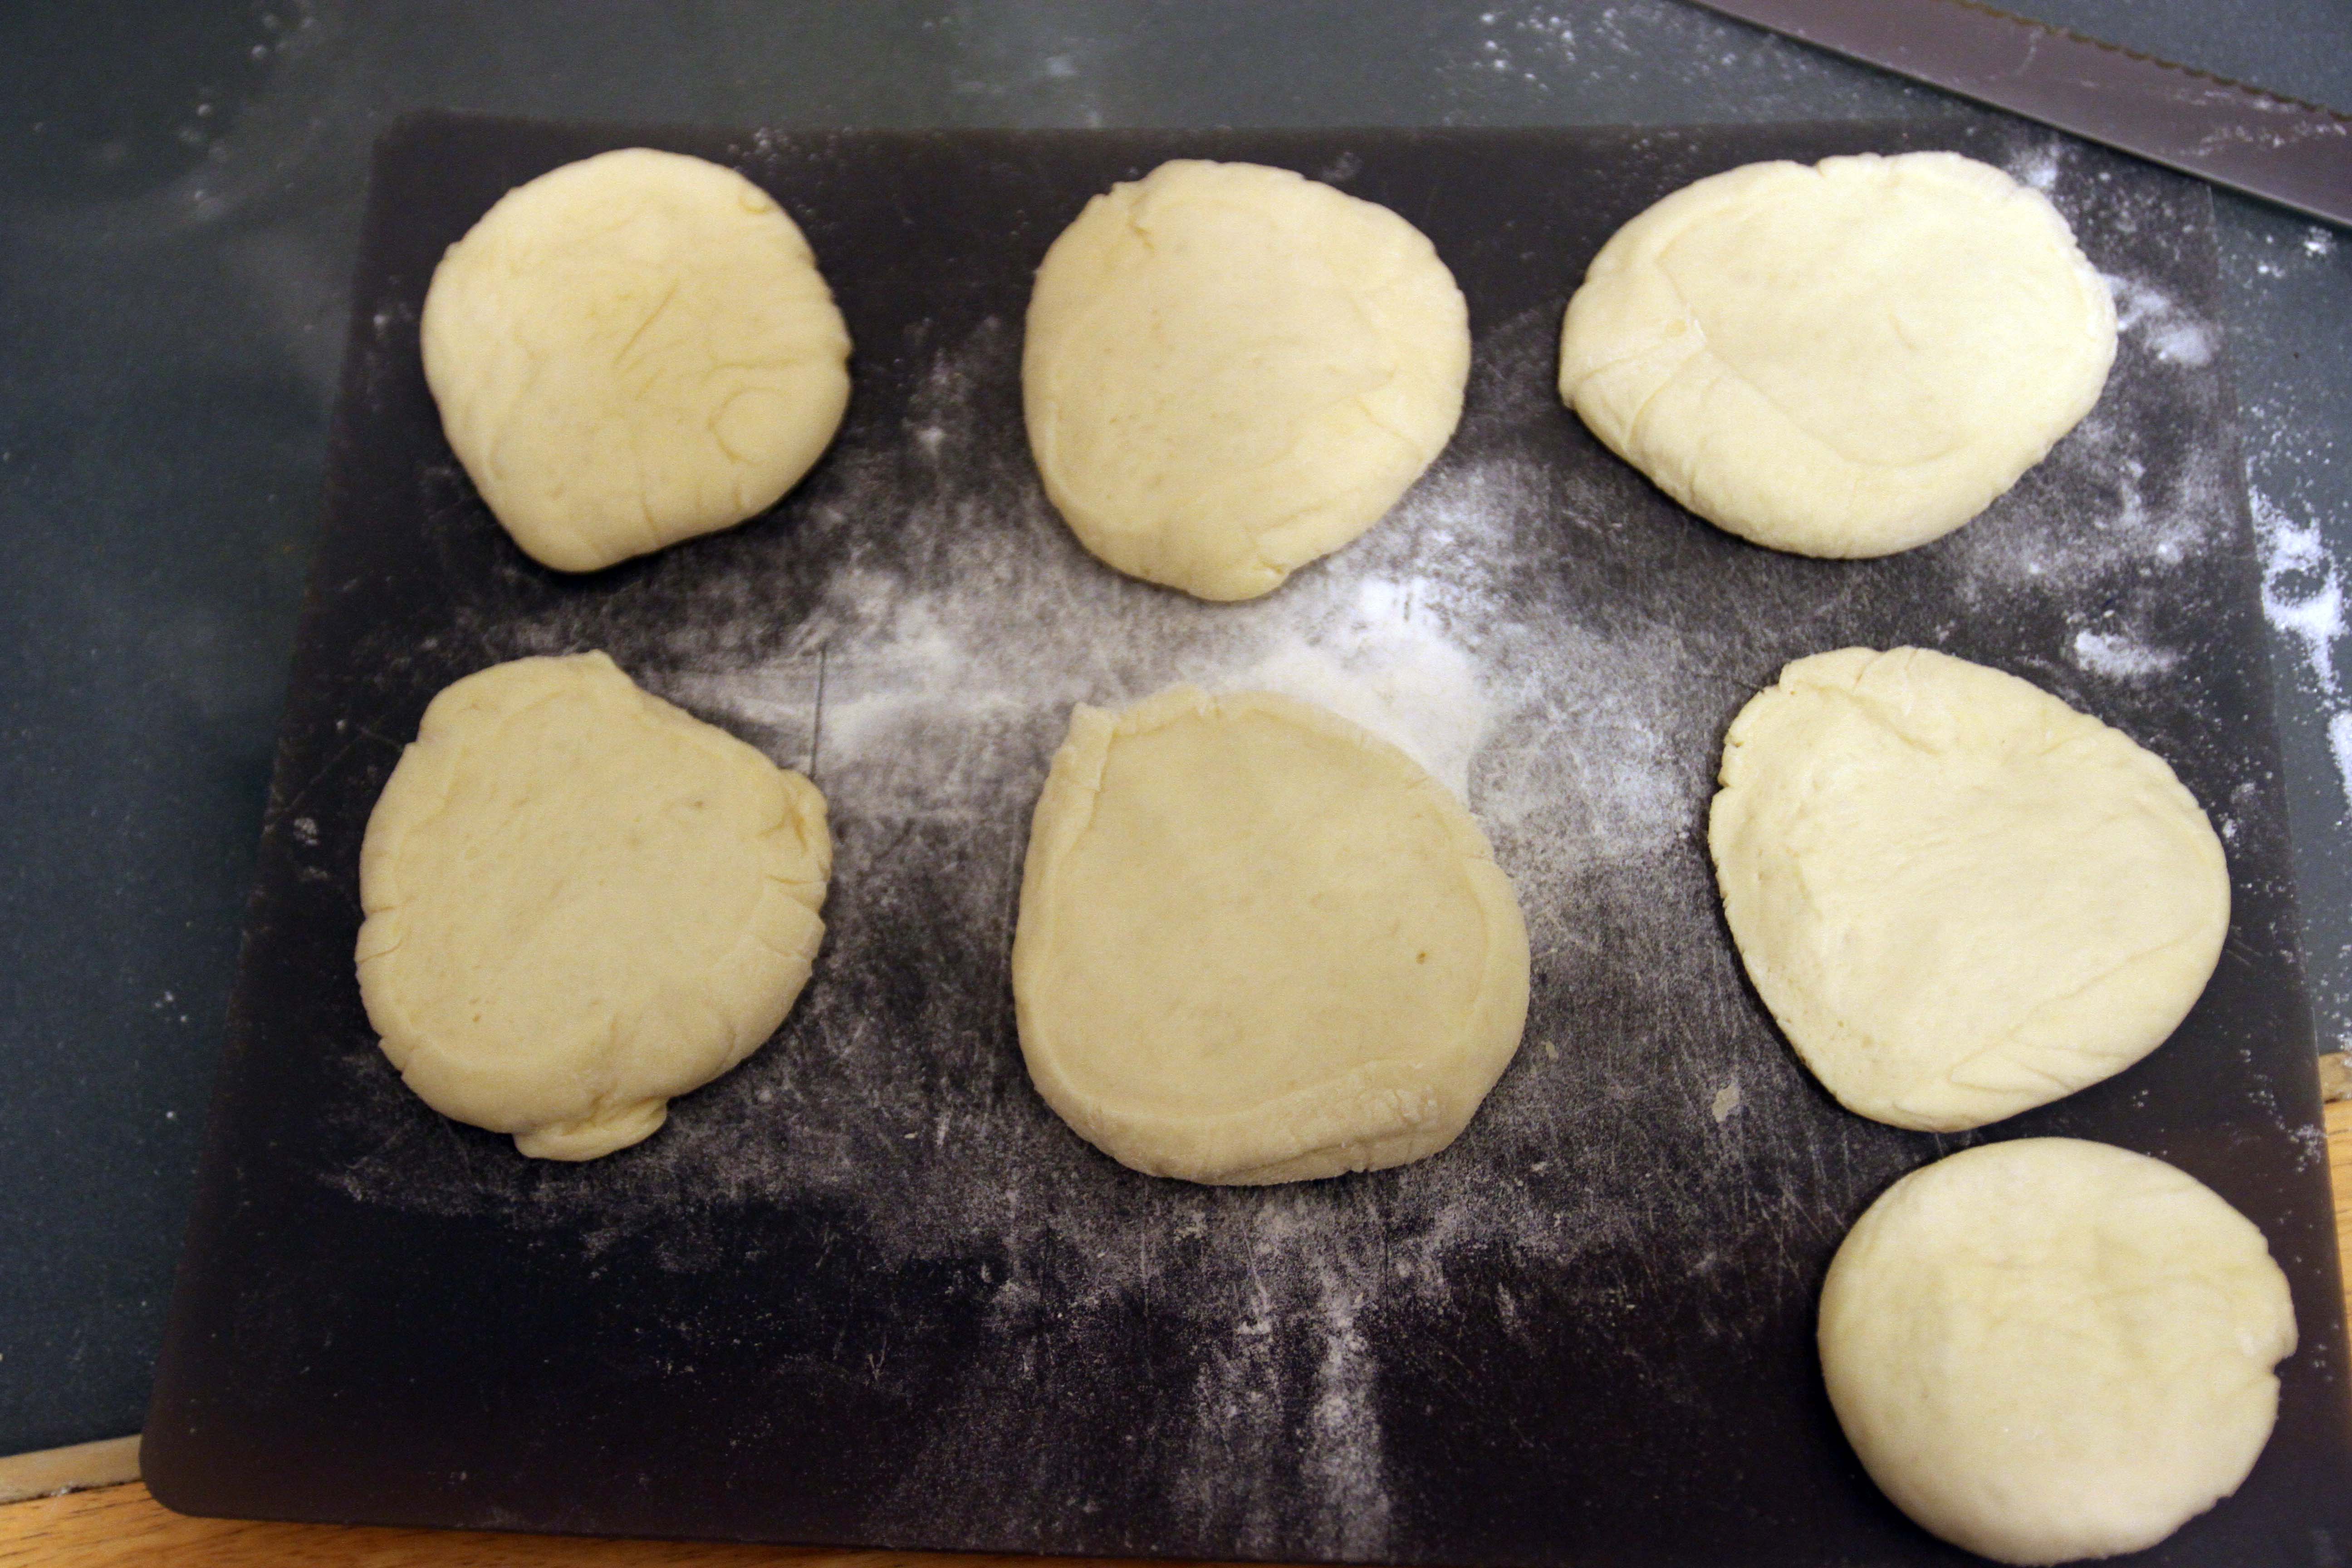
Once its ready, take it out, stretch it out into a long tube, and cut into even sections roughly 3 cm wide.

Press down to make circles that are thicker in the middle, and thinner at the edges.
At this point, go back and check on your meat. It should be done!
Now the fun part! As this was my first time making bao, I learned some tricks for next time.
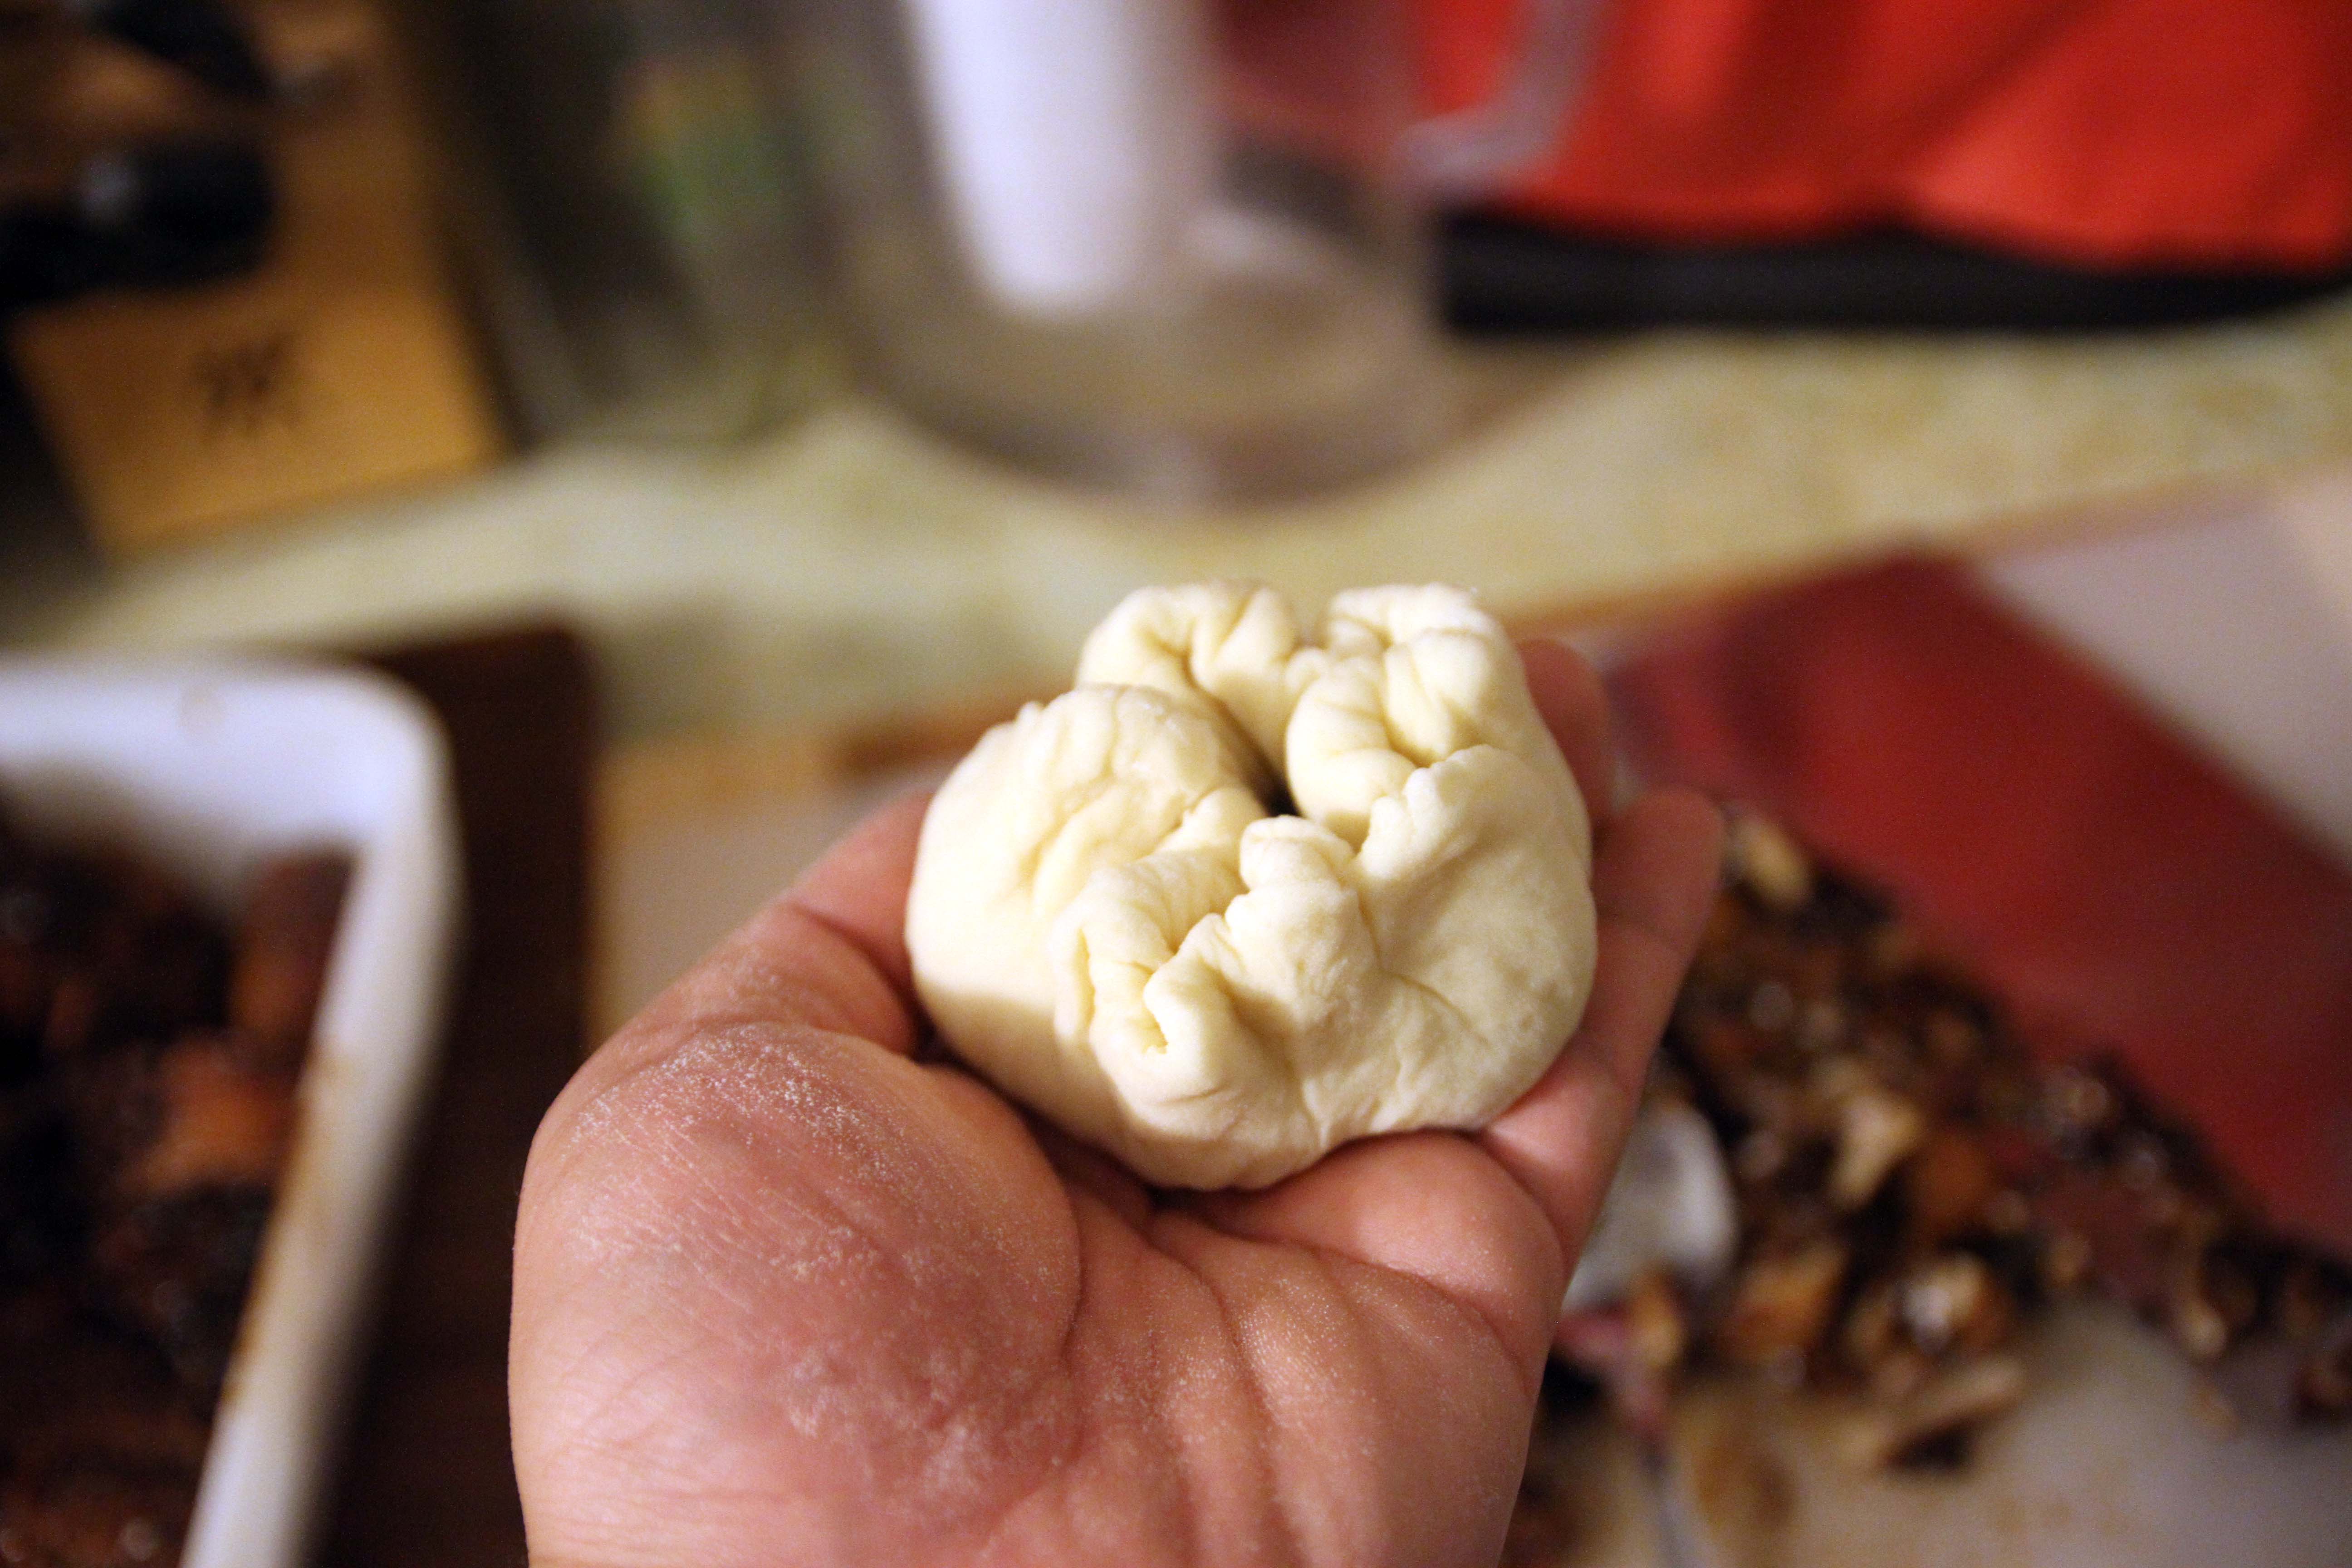
Grab a dough patty in your hand, and stretch out the ends, taking care not to stretch the middle section at all. The elasticity should remind you of pizza dough.

Add a generous amount of filling into the middle. Don’t be skimpy. Load it up.

Fold the edges in towards each other. Traditionally you can also grab 3 points like a triangle, and bring them all in towards the centre.
Place the finished buns aside, on a piece of parchment paper. I ran out of paper, so I used cupcake liners.
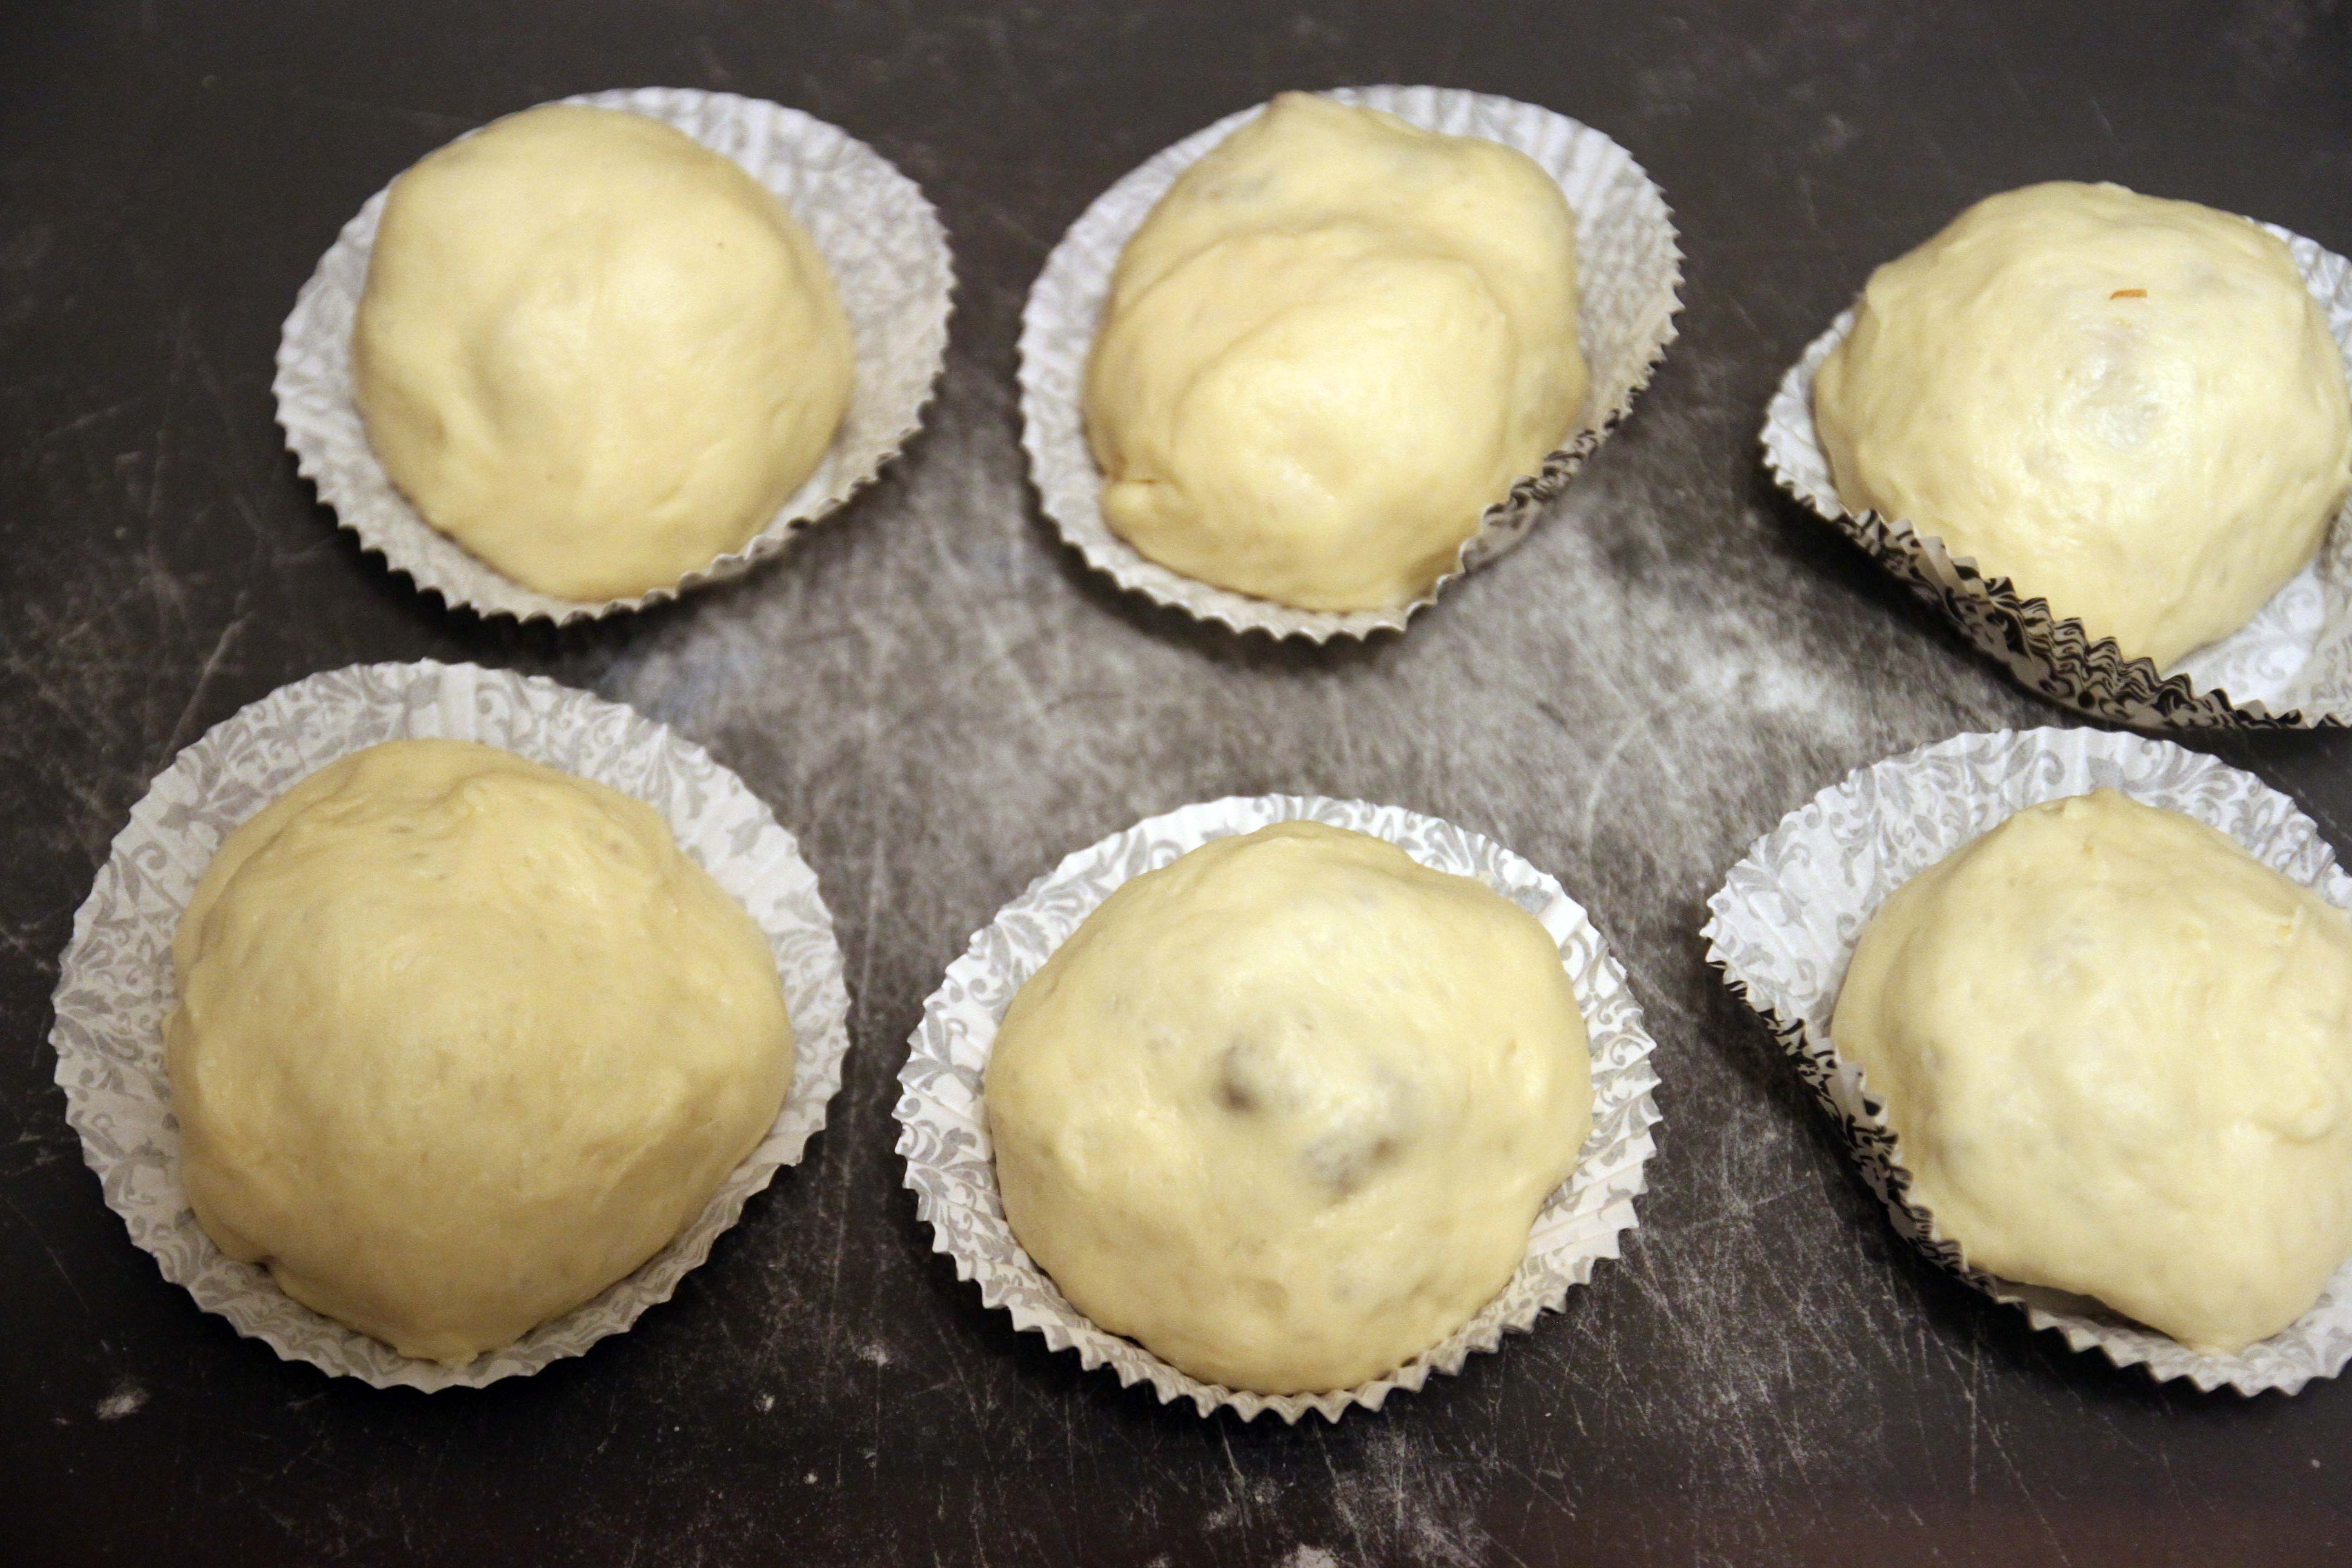
You may notice how smooth the tops are. This was my system for distinguishing the vegetarian ones from the meat ones. I put crimped side up top for vegetarian, and crimped side down for meat.
Grab your favourite steamer, and place them inside.
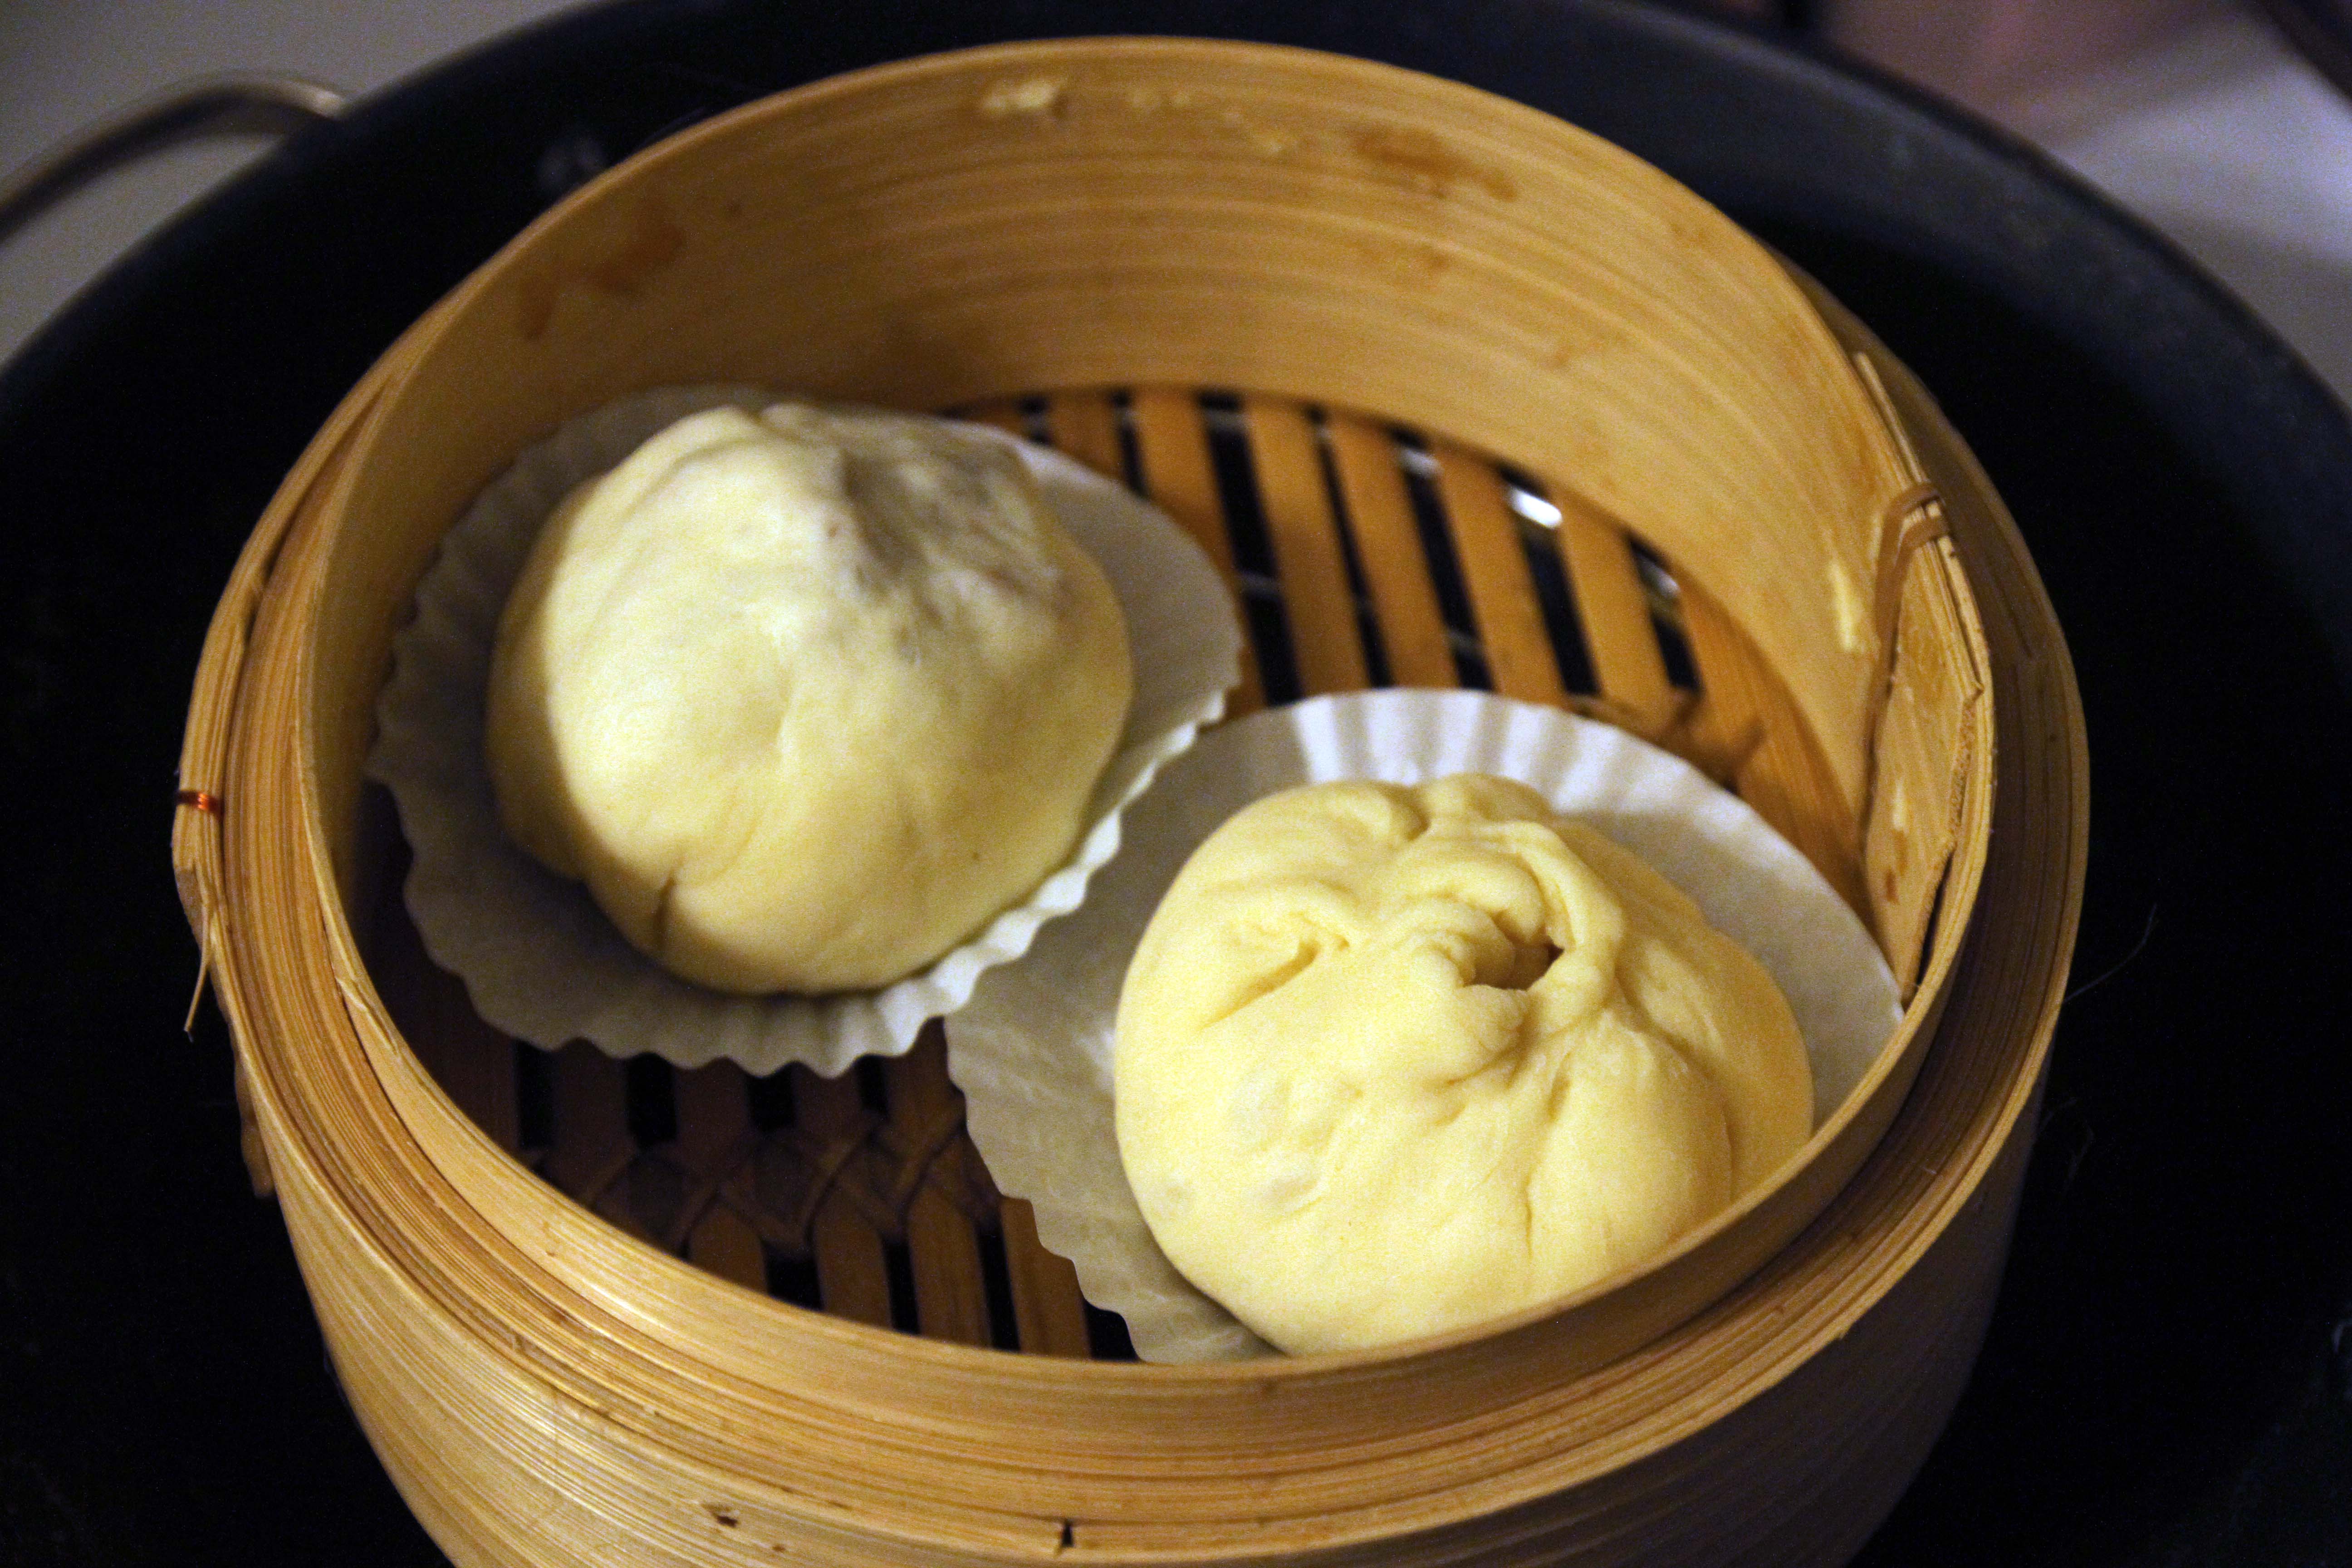
Steam for 15 minutes, and then let cool for 5. They will swell to 1.5x their original size, so be sure to leave enough room inbetween each, otherwise they will get stuck to each other, and the steamer.

The learnings I got were how to fold the bun properly so that the ratio of bun-to-filling was better. Also how much dough was needed inbetween to form enough of a layer.

Finally, serve with your favourite drink. In my case, hot Hong Kong Milk Tea!
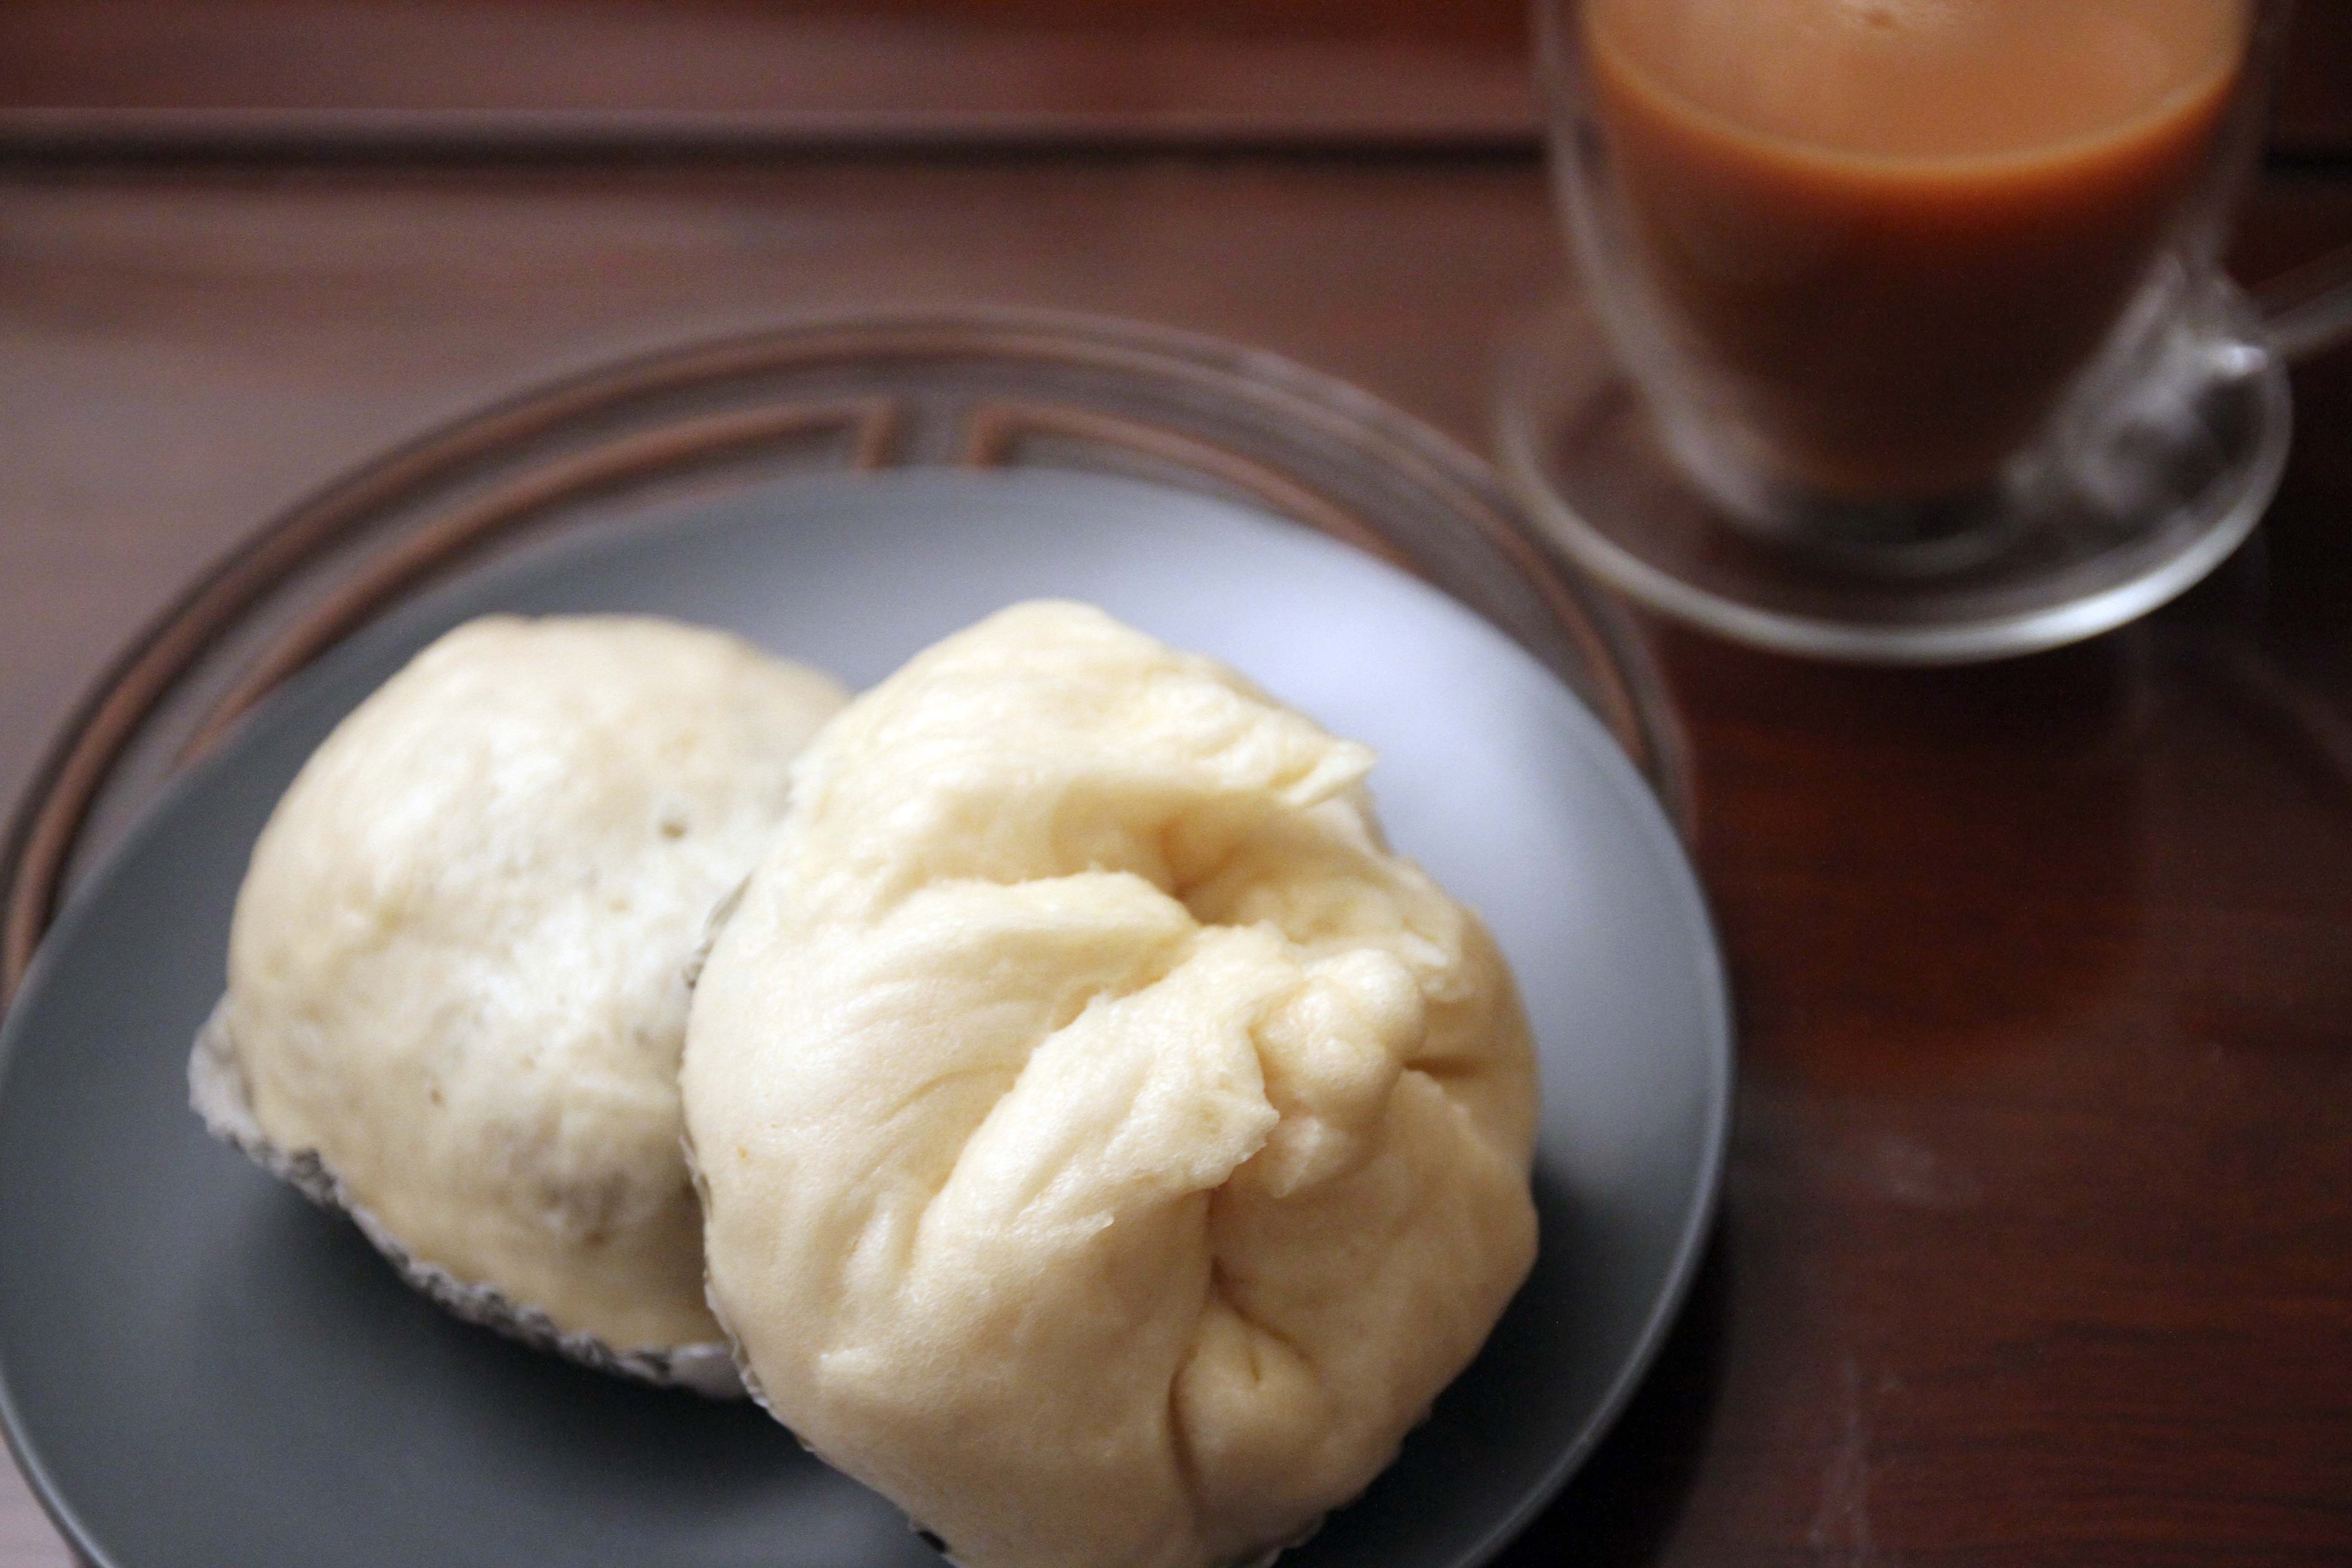
Ta da! There you have it! My first attempt at bbq pork buns, and mushroom buns! From a taste test by unbiased observers, it wasn’t authentic, but it was really good!
*EDIT*
The next night, I had leftover meat, so I made a batch using whole wheat flour

This time I learned from the first batch — I made the centres thicker, and the edges thinner.

I also had some leftover beef and broccoli, so I made 3 buns out of that

Whole wheat swells up just as nicely as white flour does!

Ta da! as you can see, the dough around the filling is more uniform, and there is also much more filling.

One Comment Add yours