
Living in an old house, I don’t really want to sink massive amounts of money into it. However, I do want to at least make it decent while we are here. The kitchen has always been a sore point for me. 1960s formica ontop of 1940s tile. Yup. Just a wee bit ugly. Learning about an affordable DIY kit from one of Jax’s friends, we decided to try it out. The results turned out phenomenal!

The product is called Rust-Oleum Countertrop Transformations. Available at Home Depot and Canadian Tire, we found that only 3 colours were sold here (in Vancouver). Choosing a nice dark Charcoal colour, we set off to work.
There is quite a bit of prep work involved. Cleaning is a must. There can’t be a speck of grease or dirt on the countertops.

After cleaning, you must sand it down to give it a rough finish. Any glossiness will not let the adhesive coating stick.
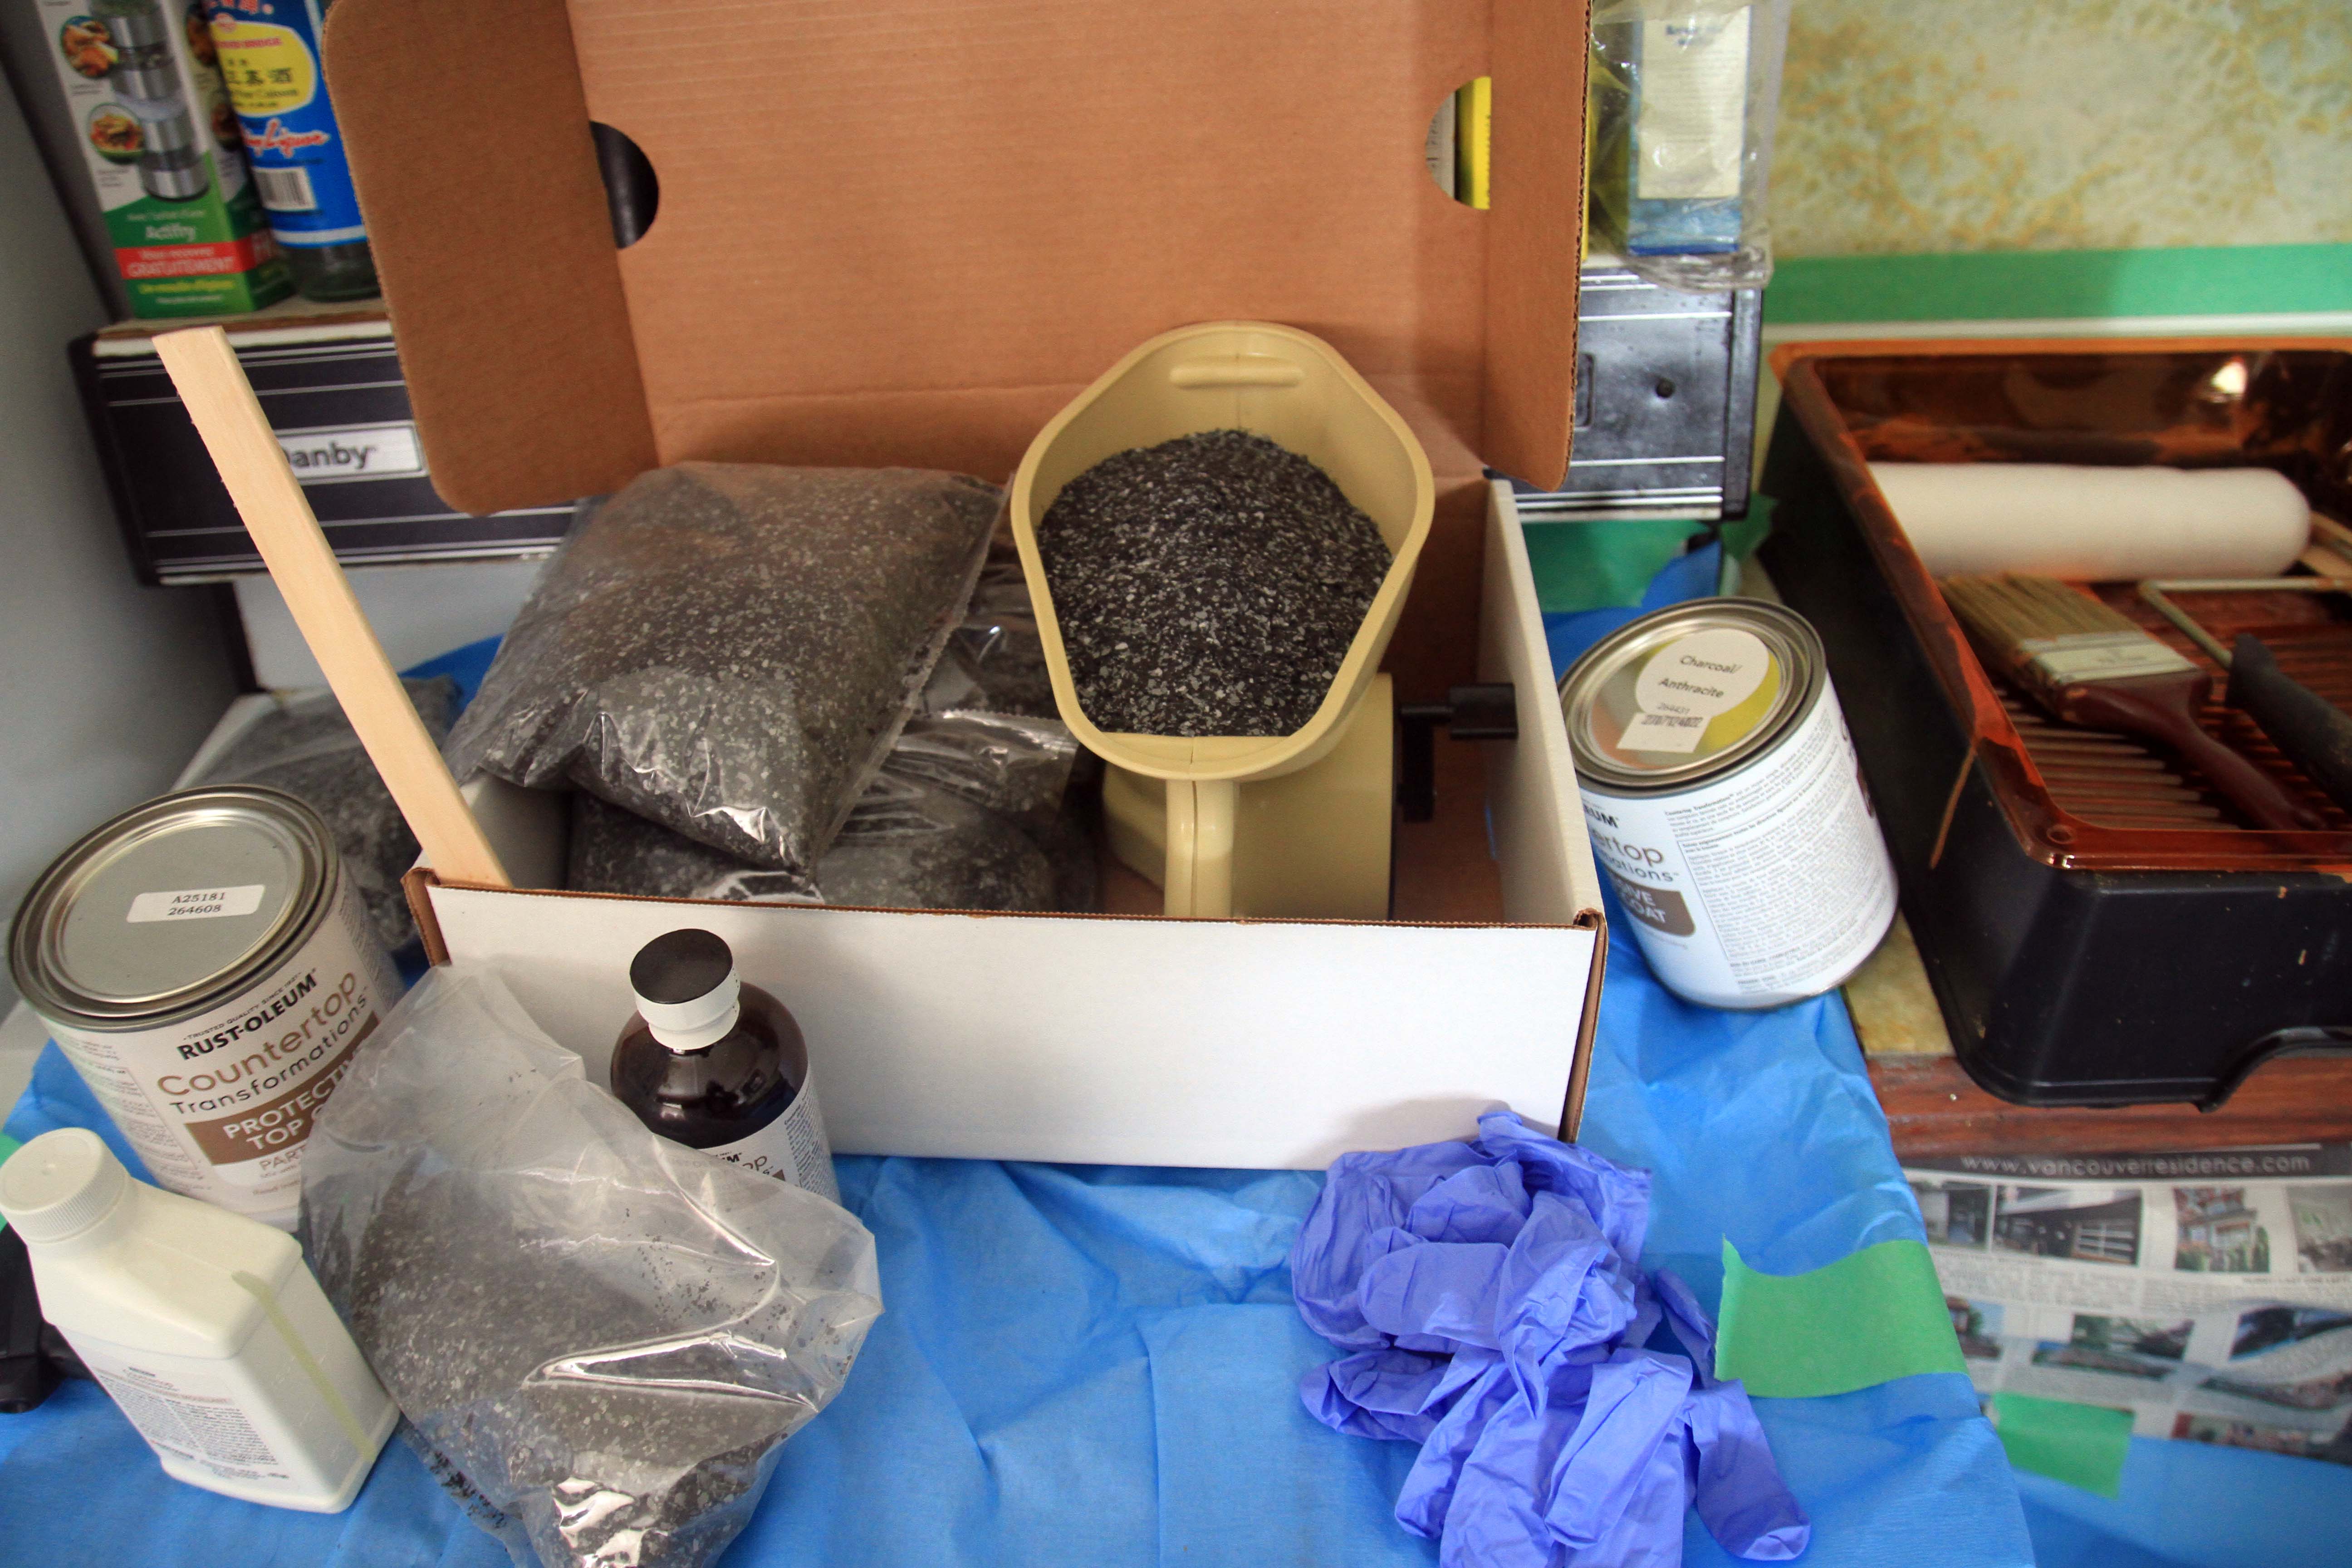
Included in the kit is a sanding sponge, so you don’t need to worry about finding the proper grit at the store.
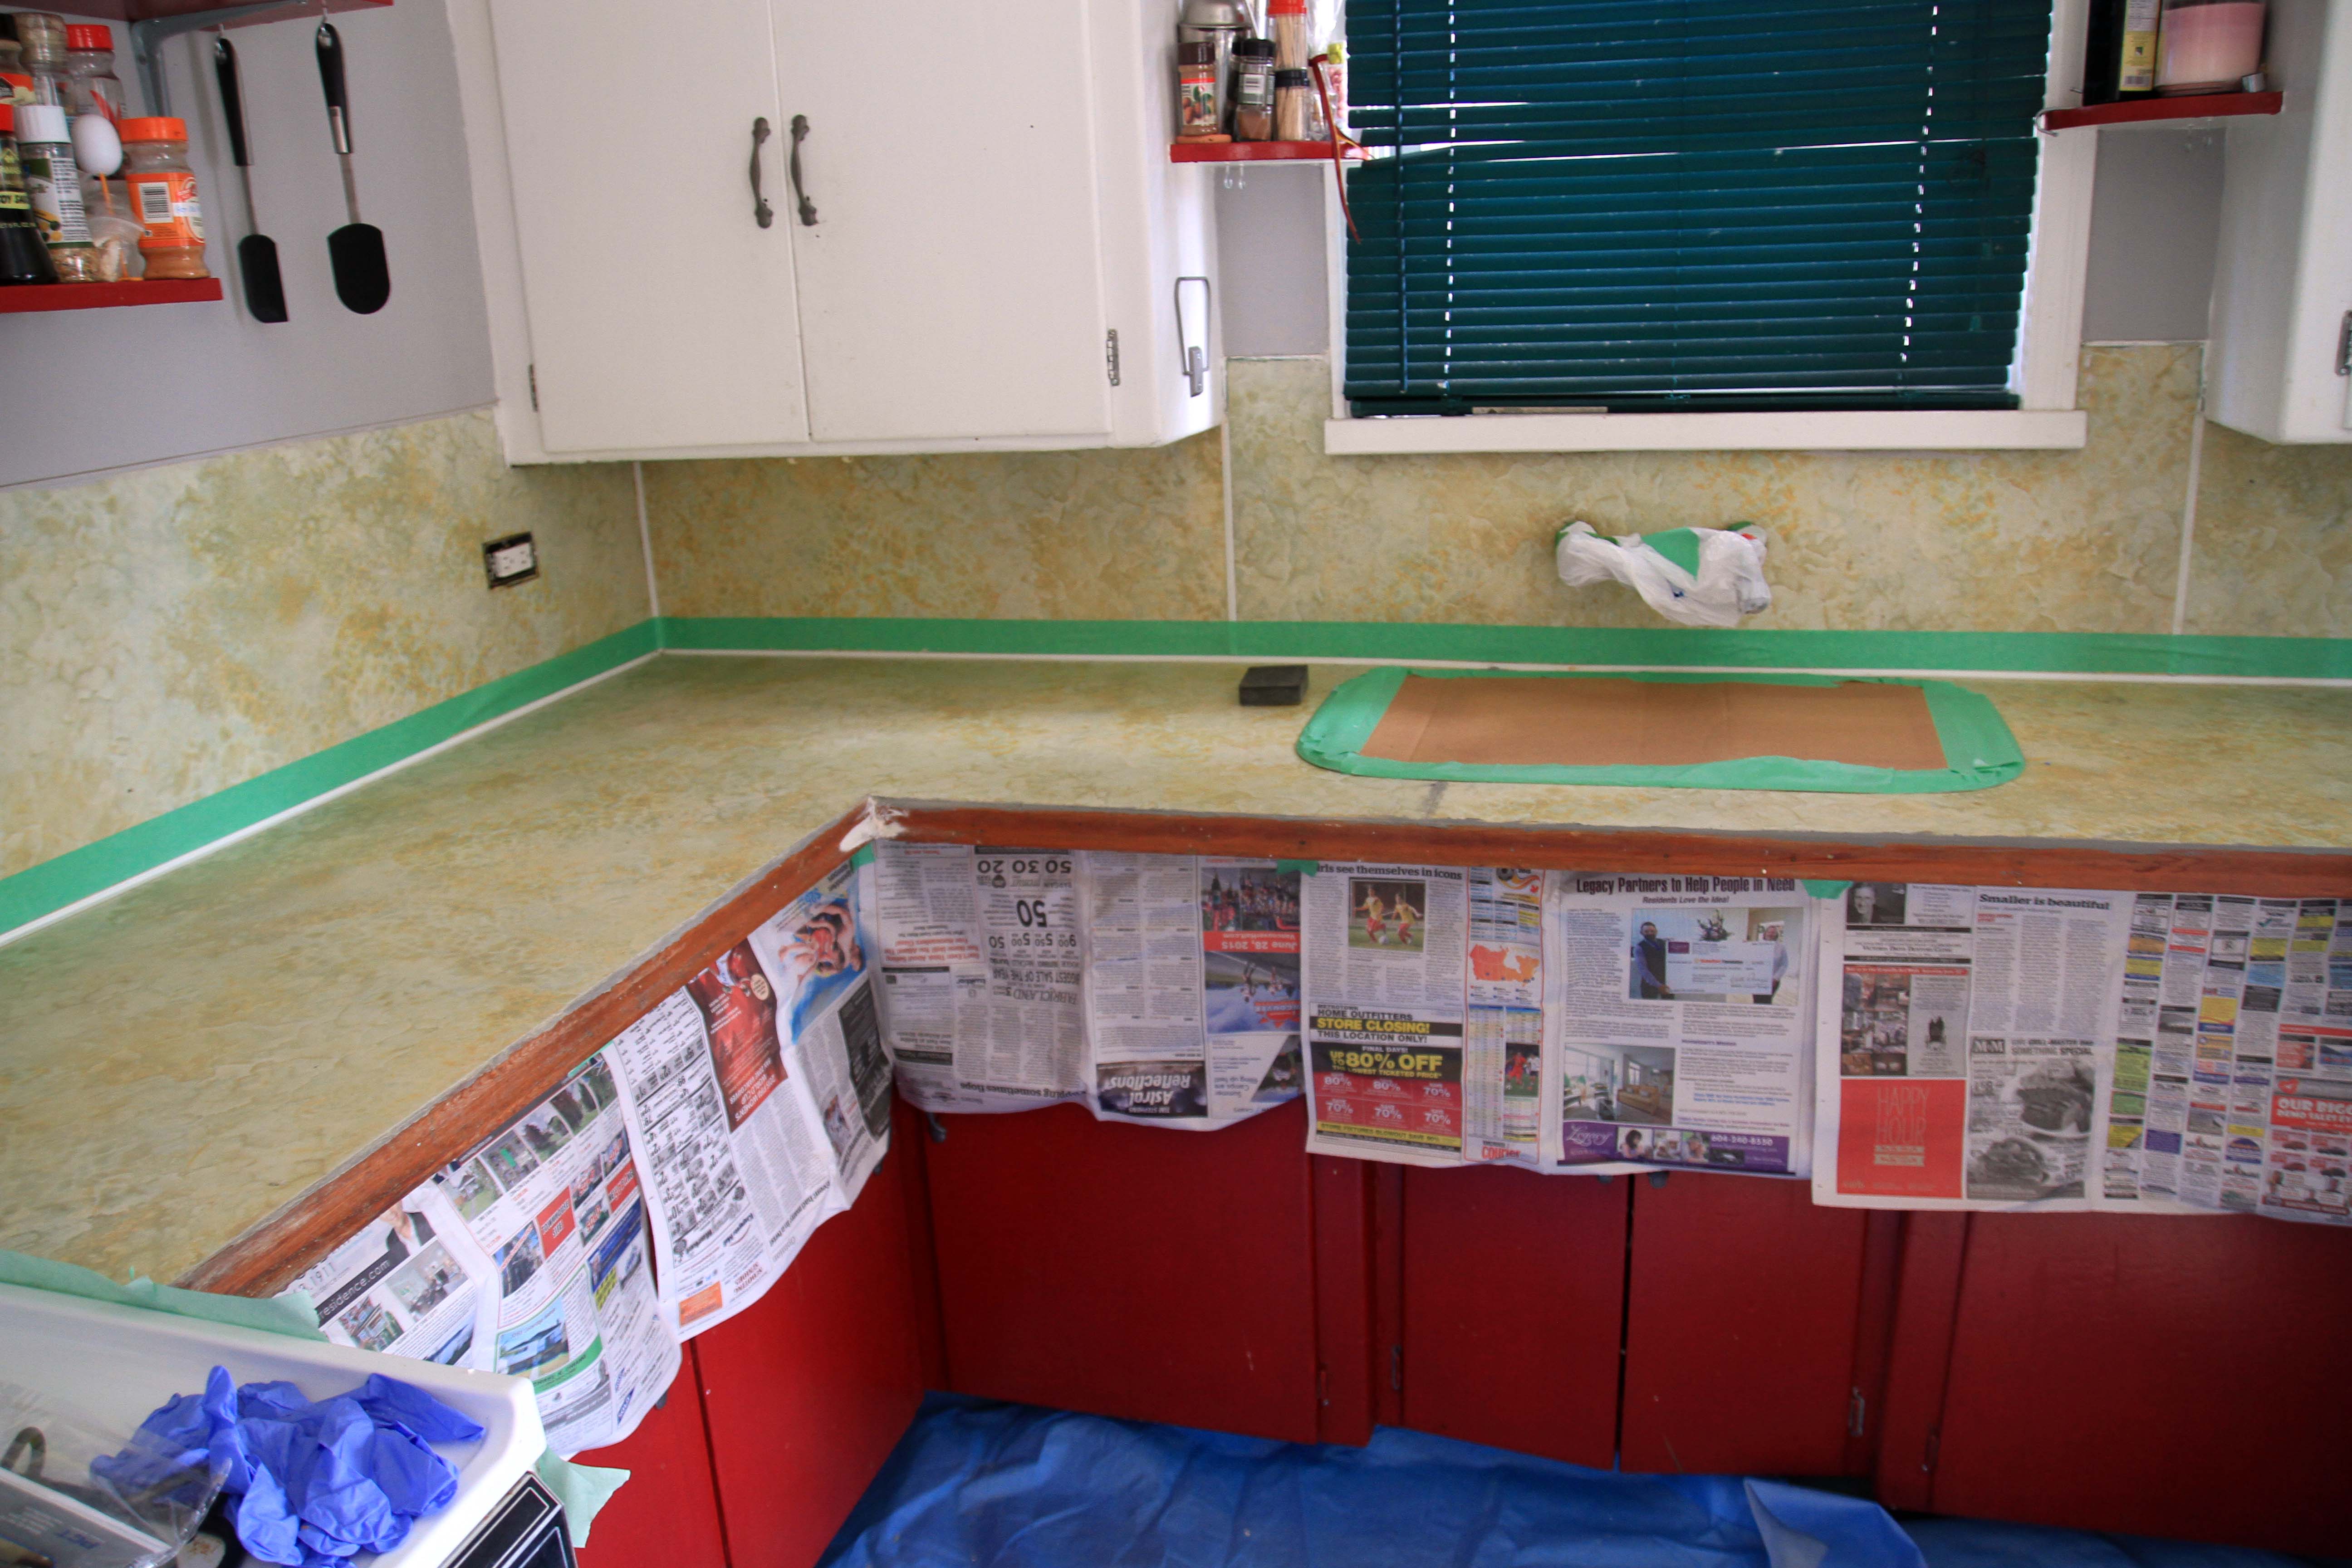
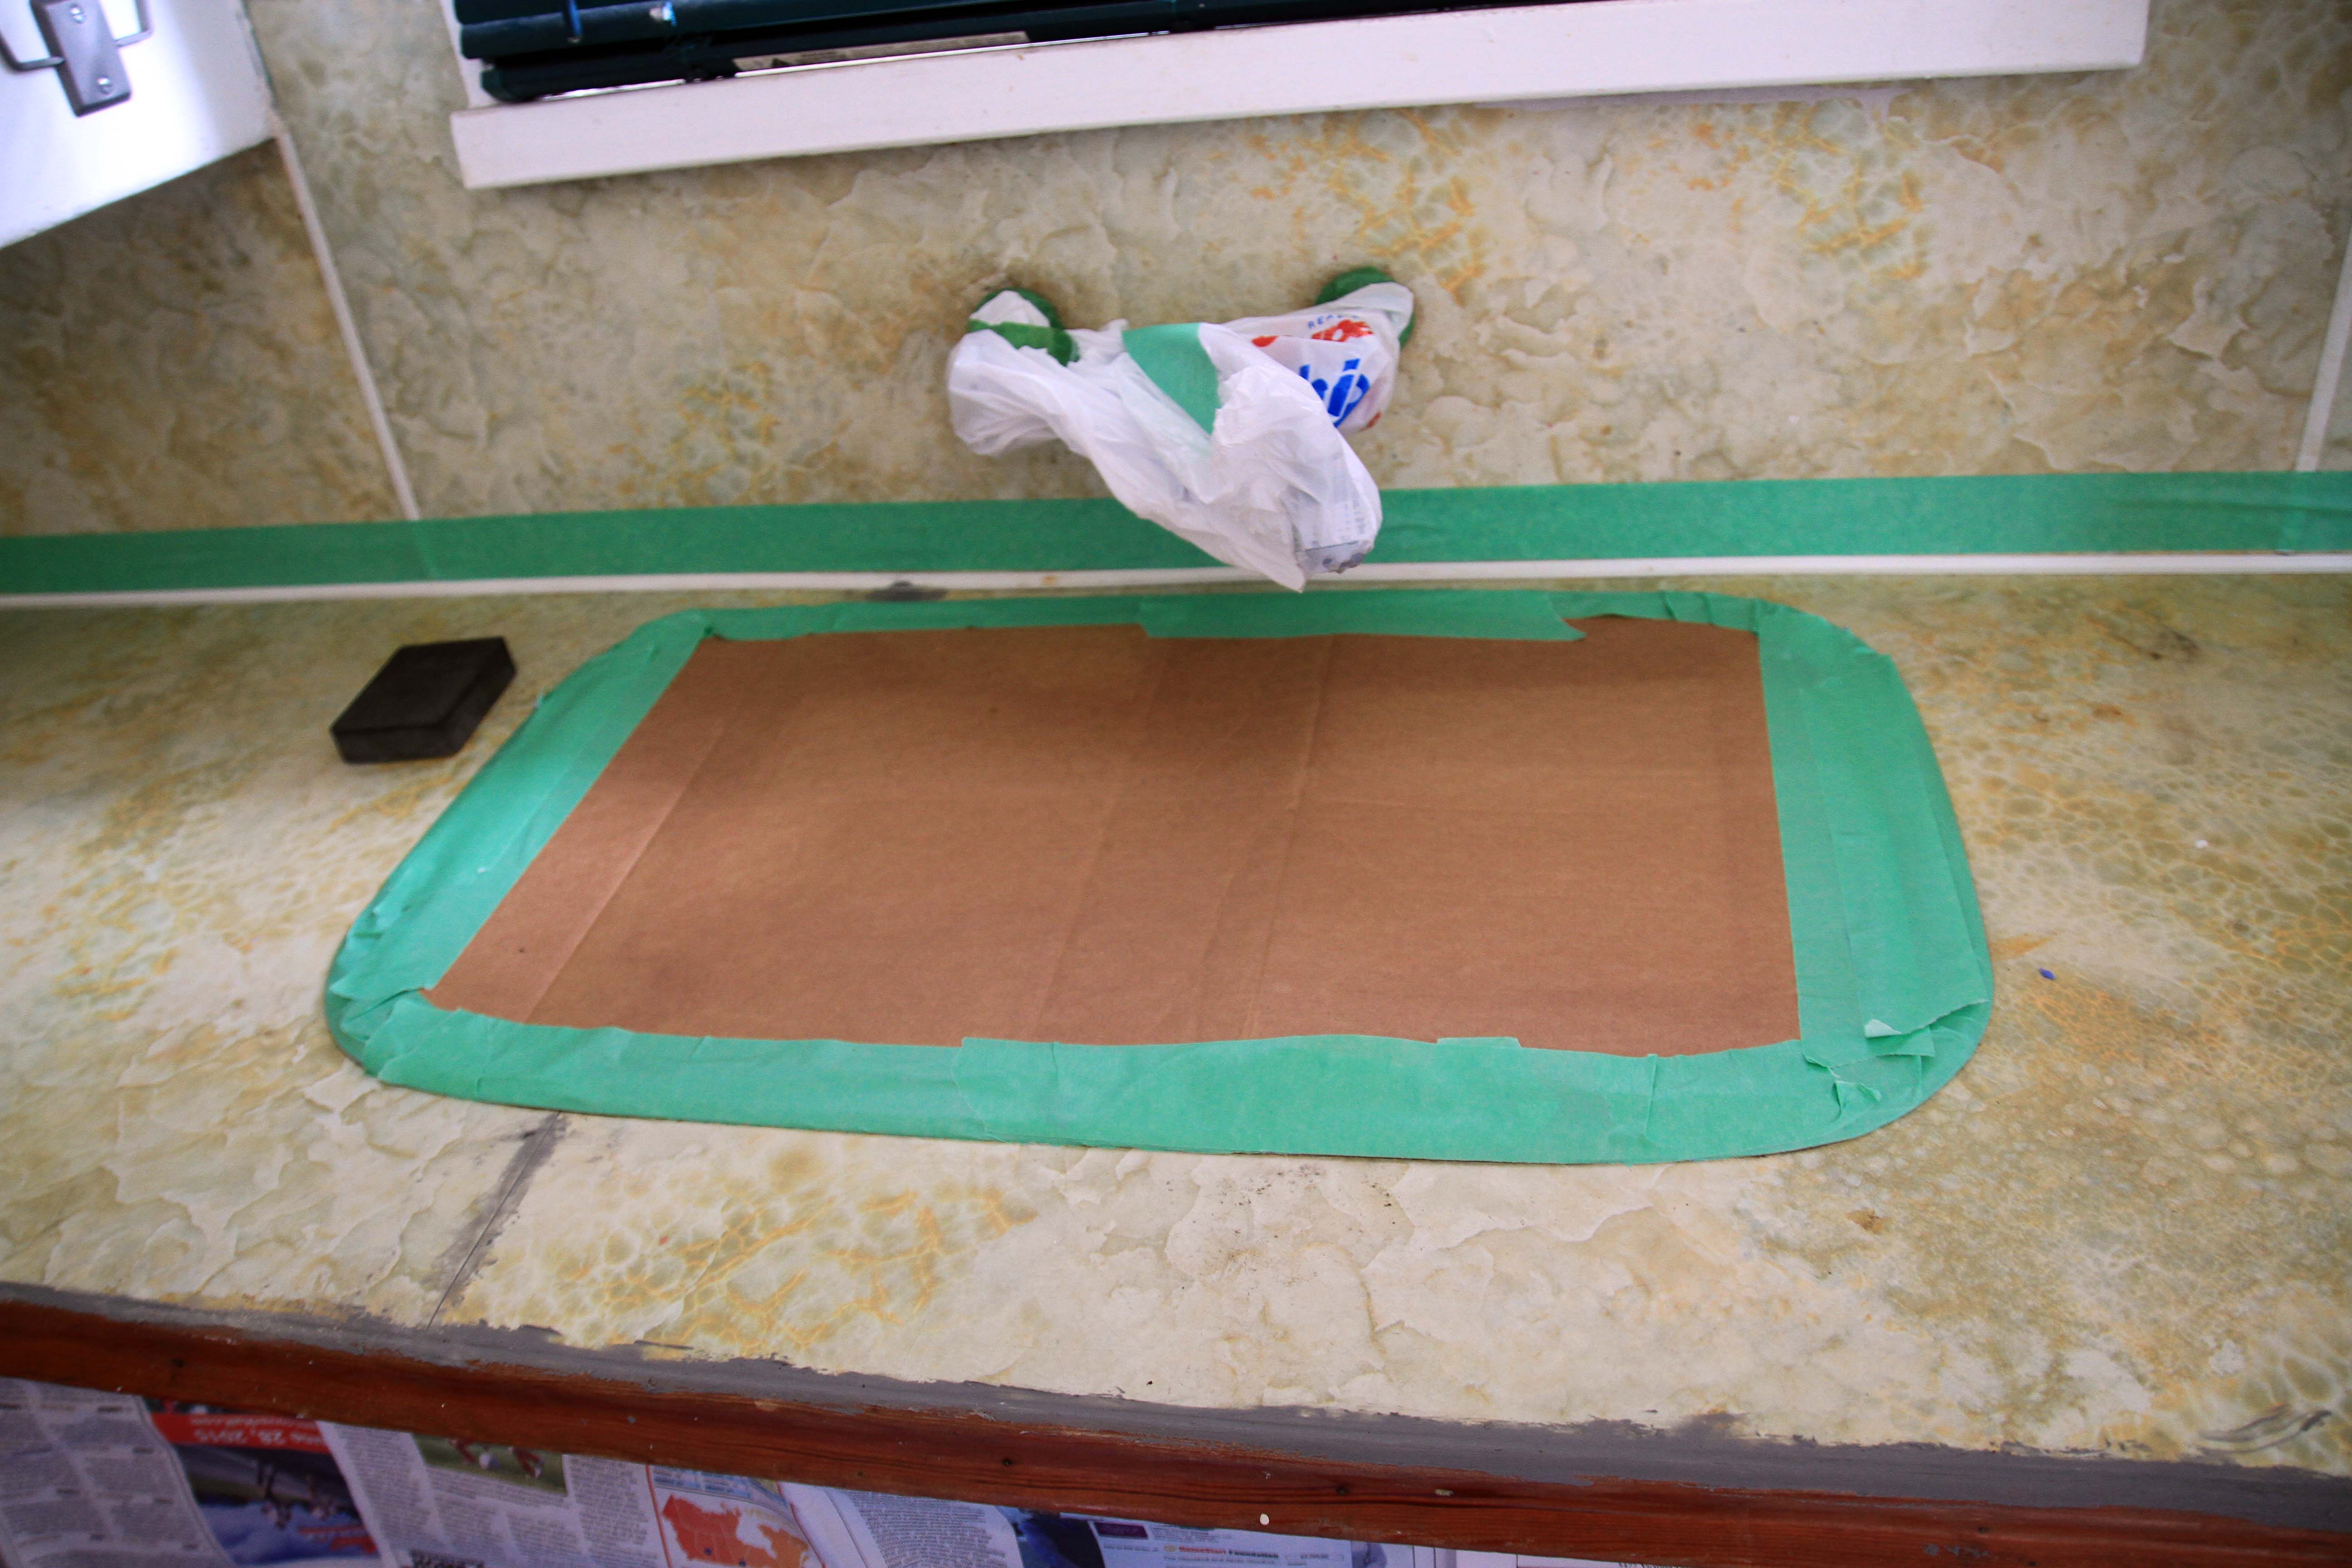
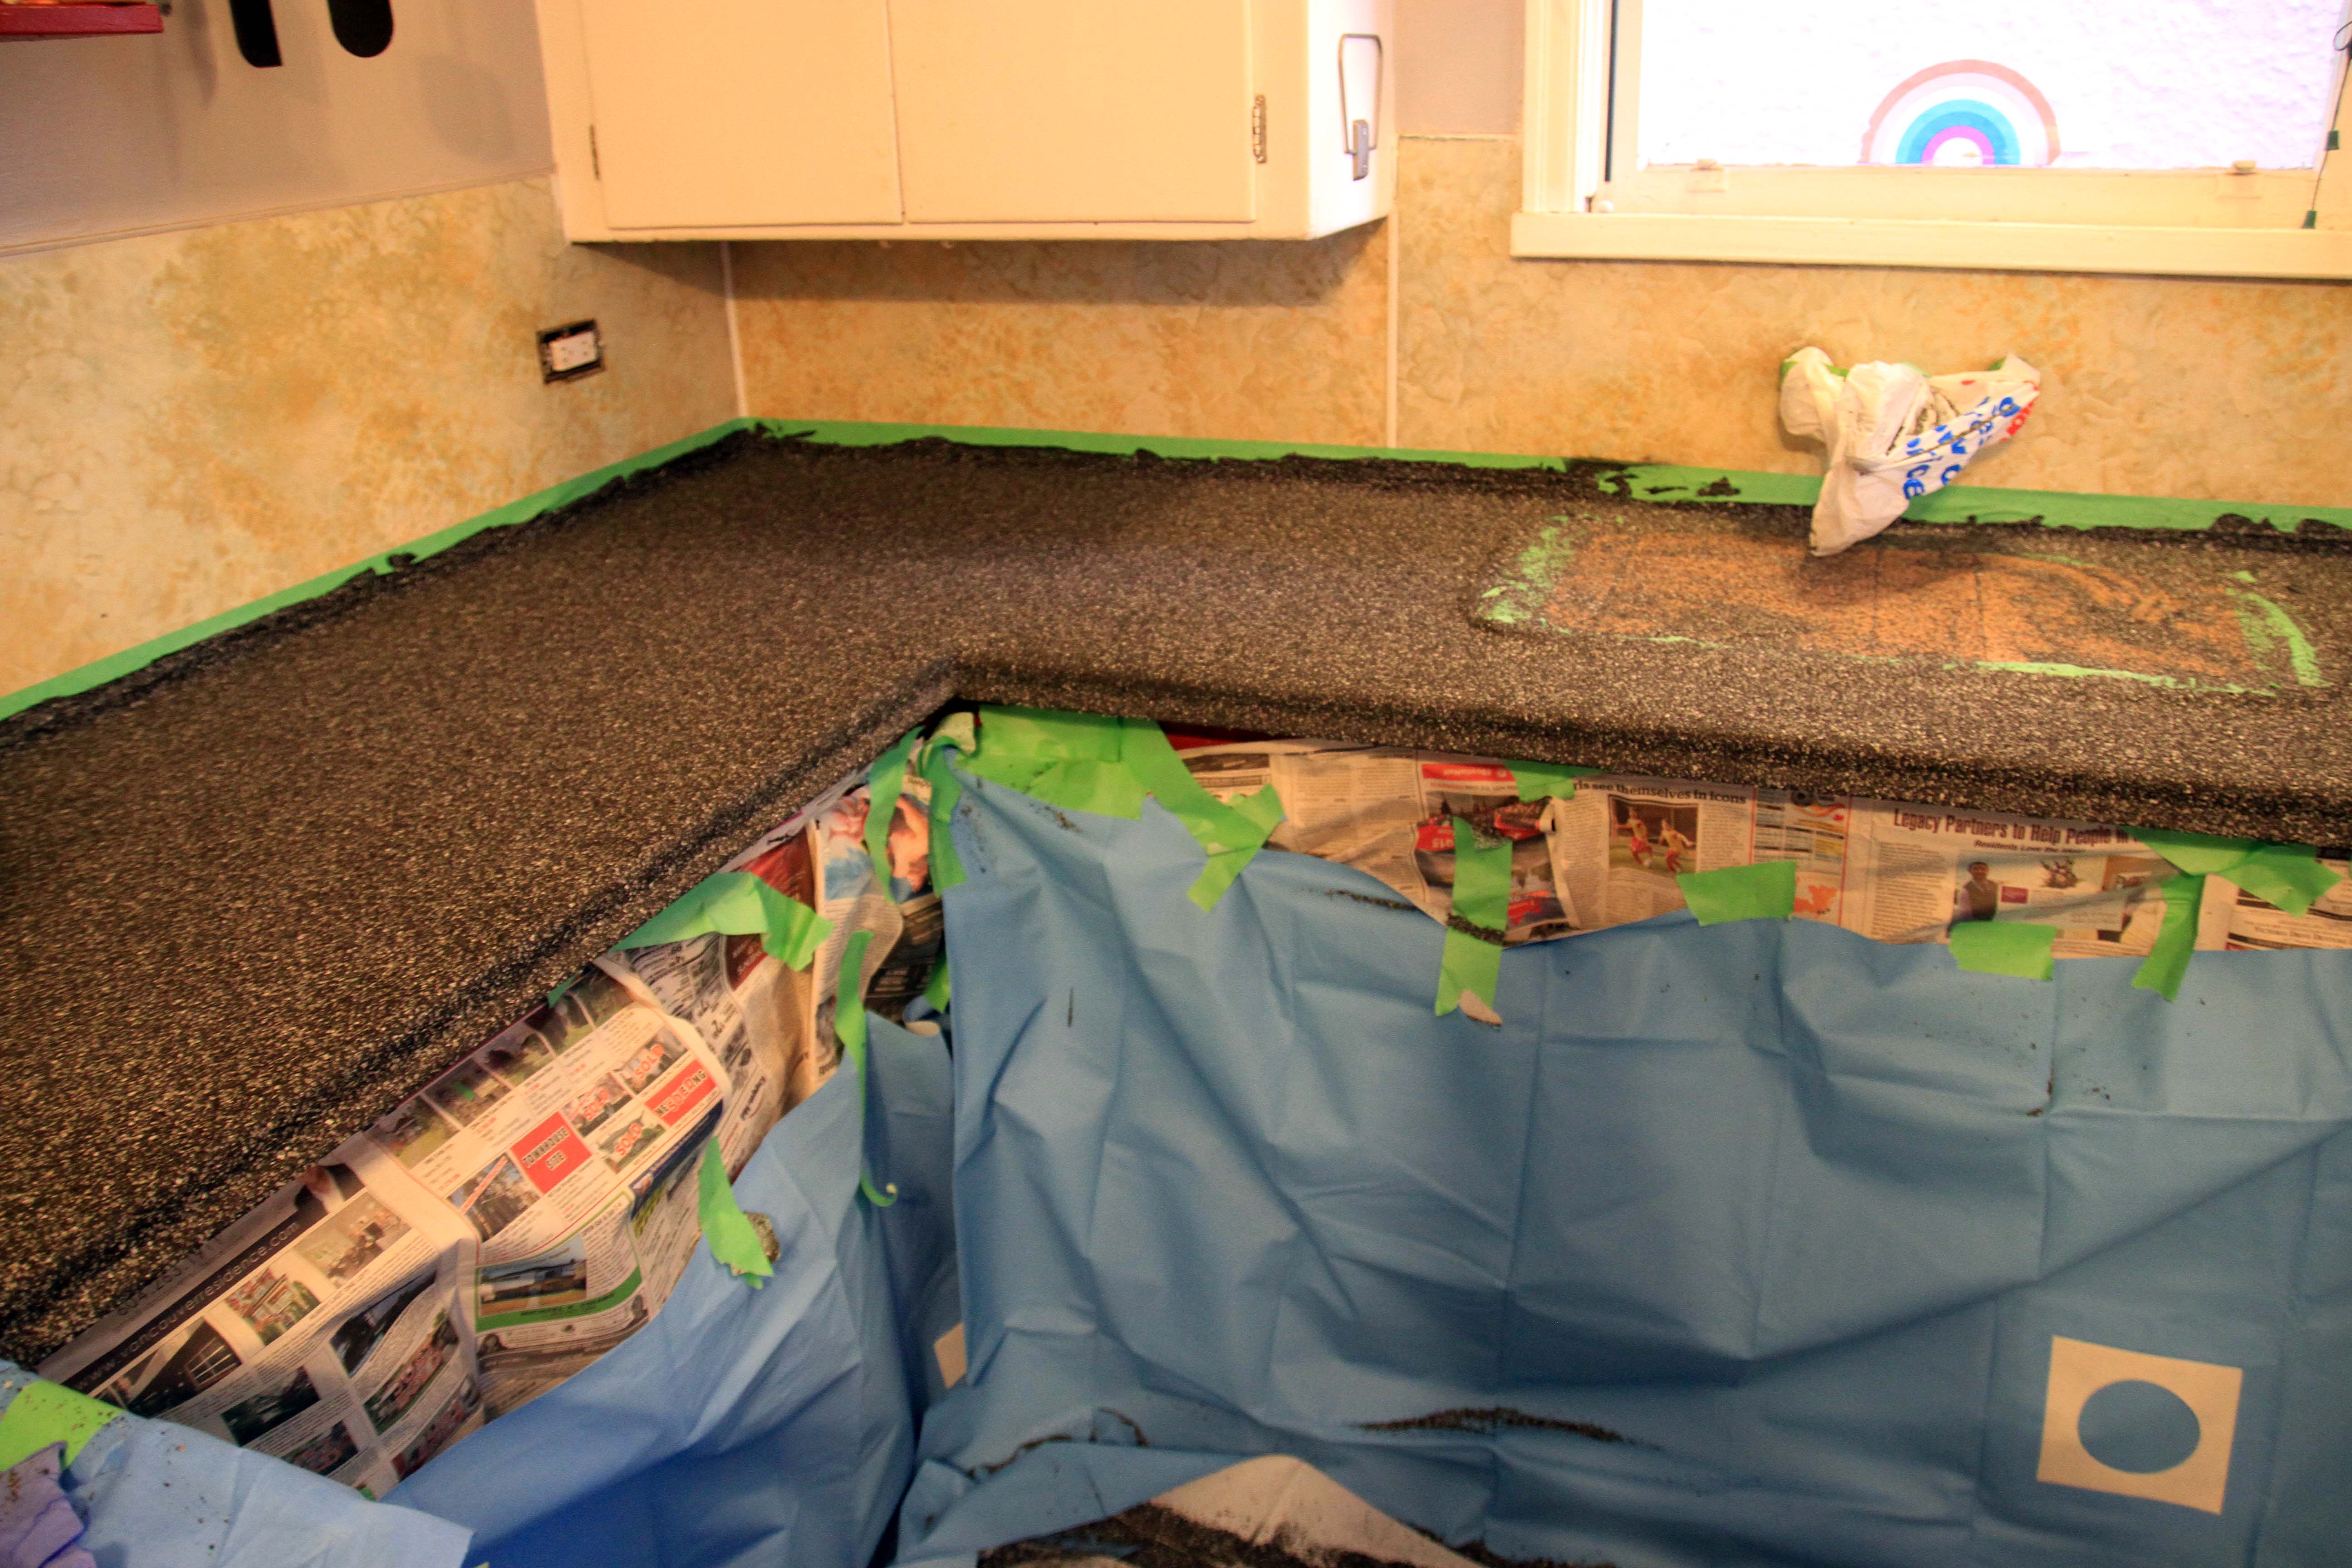
The instructions say to tape the sink, however covering it completely is highly recommended. The amount of stone chips you’ll be throwing over it would be a massive pain to clean up.
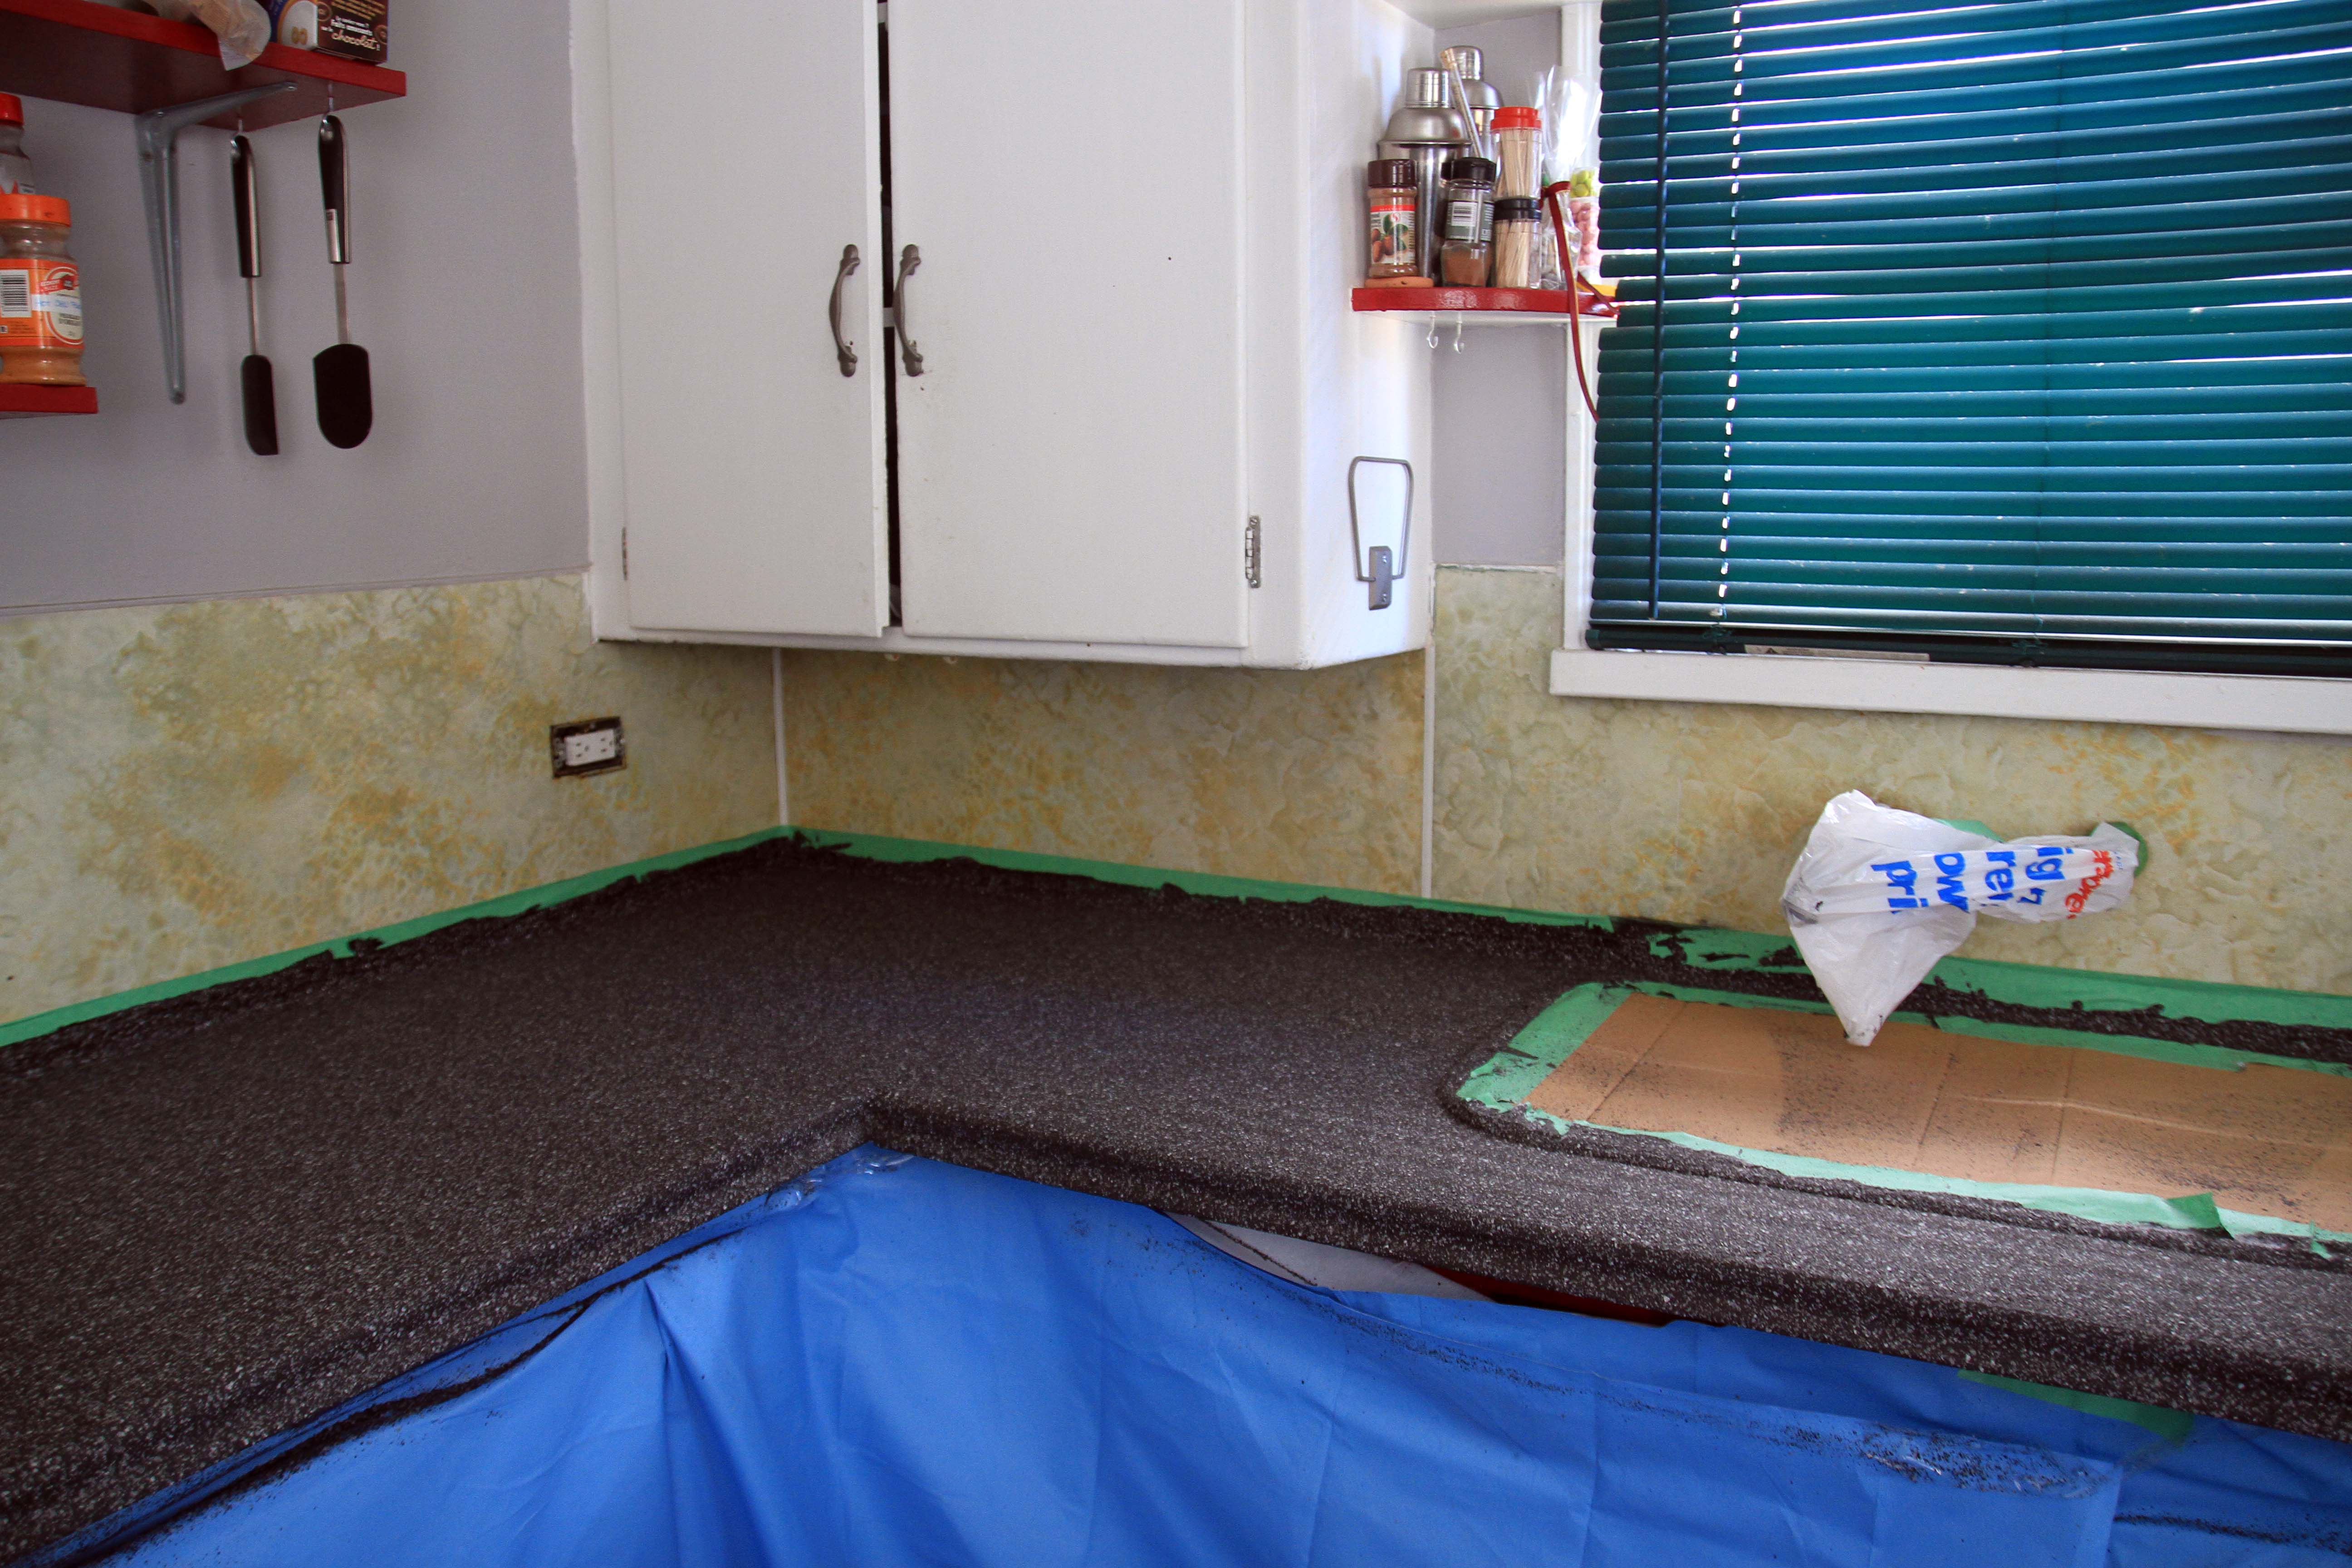
The next step is to lay on the adhesive coating. It’s super thick, and will ruin your paint roller, so don’t expect to re-use it. You have to be pretty quick with this step so that it doesn’t dry out. Make sure there is an even coat all the way around.
Time for the fun part! Spraying on all of the rock chips! Using the applicator, spray the chips all over the counter. Also, you can literally grab a handful, and throw it as hard as you can. This was super messy, but also really satisfyingly fun!
Wait overnight to let it all settle and stick before cleaning up the excess.
Cleanup was a bitch to say the least. We don’t own a shop vac, so everything was done using a hand brush. This took forever.
Sanding it smooth was even worse. Alternating so we could give our arms a rest, we spent a couple hours sanding.
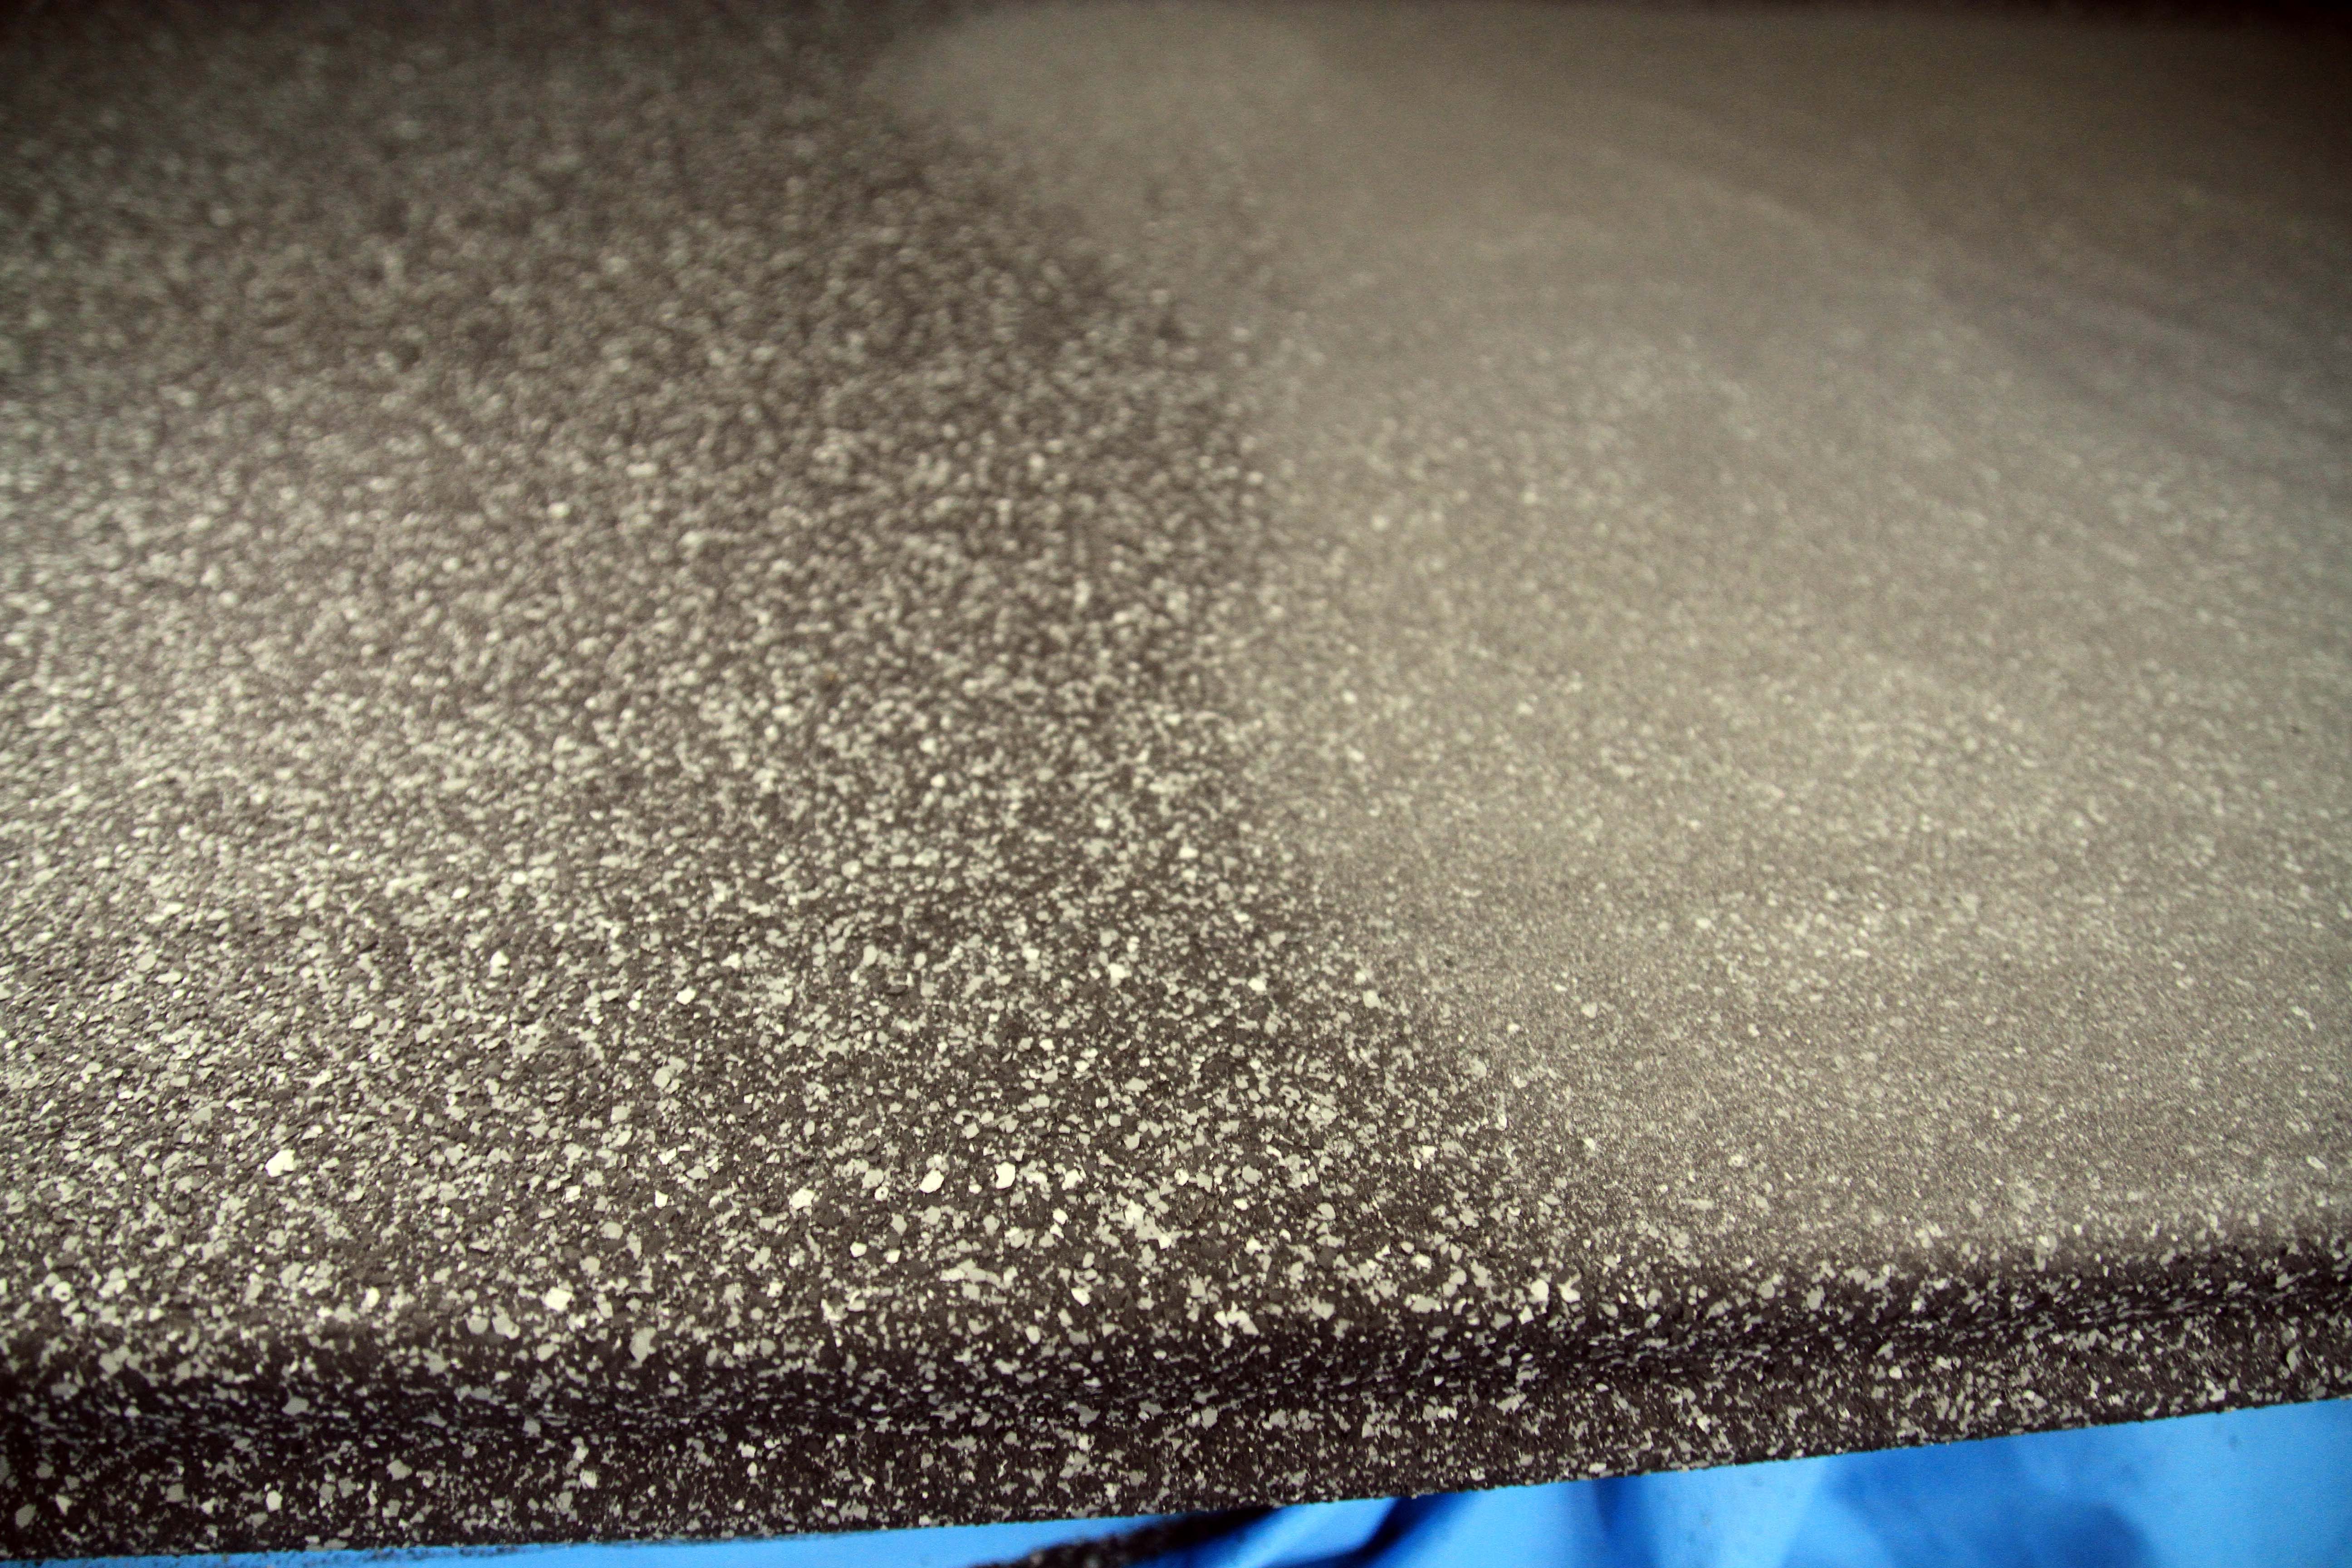
Included in the kit is a sample piece so you can feel the texture you need to get it to. We didn’t quite get it to the same smoothness, but pretty close.
Protip: don’t oversand the edges. It’s easy to grind all the way down through the rock. We ended up using a sharpie to colour in the spots we sanded down too much.

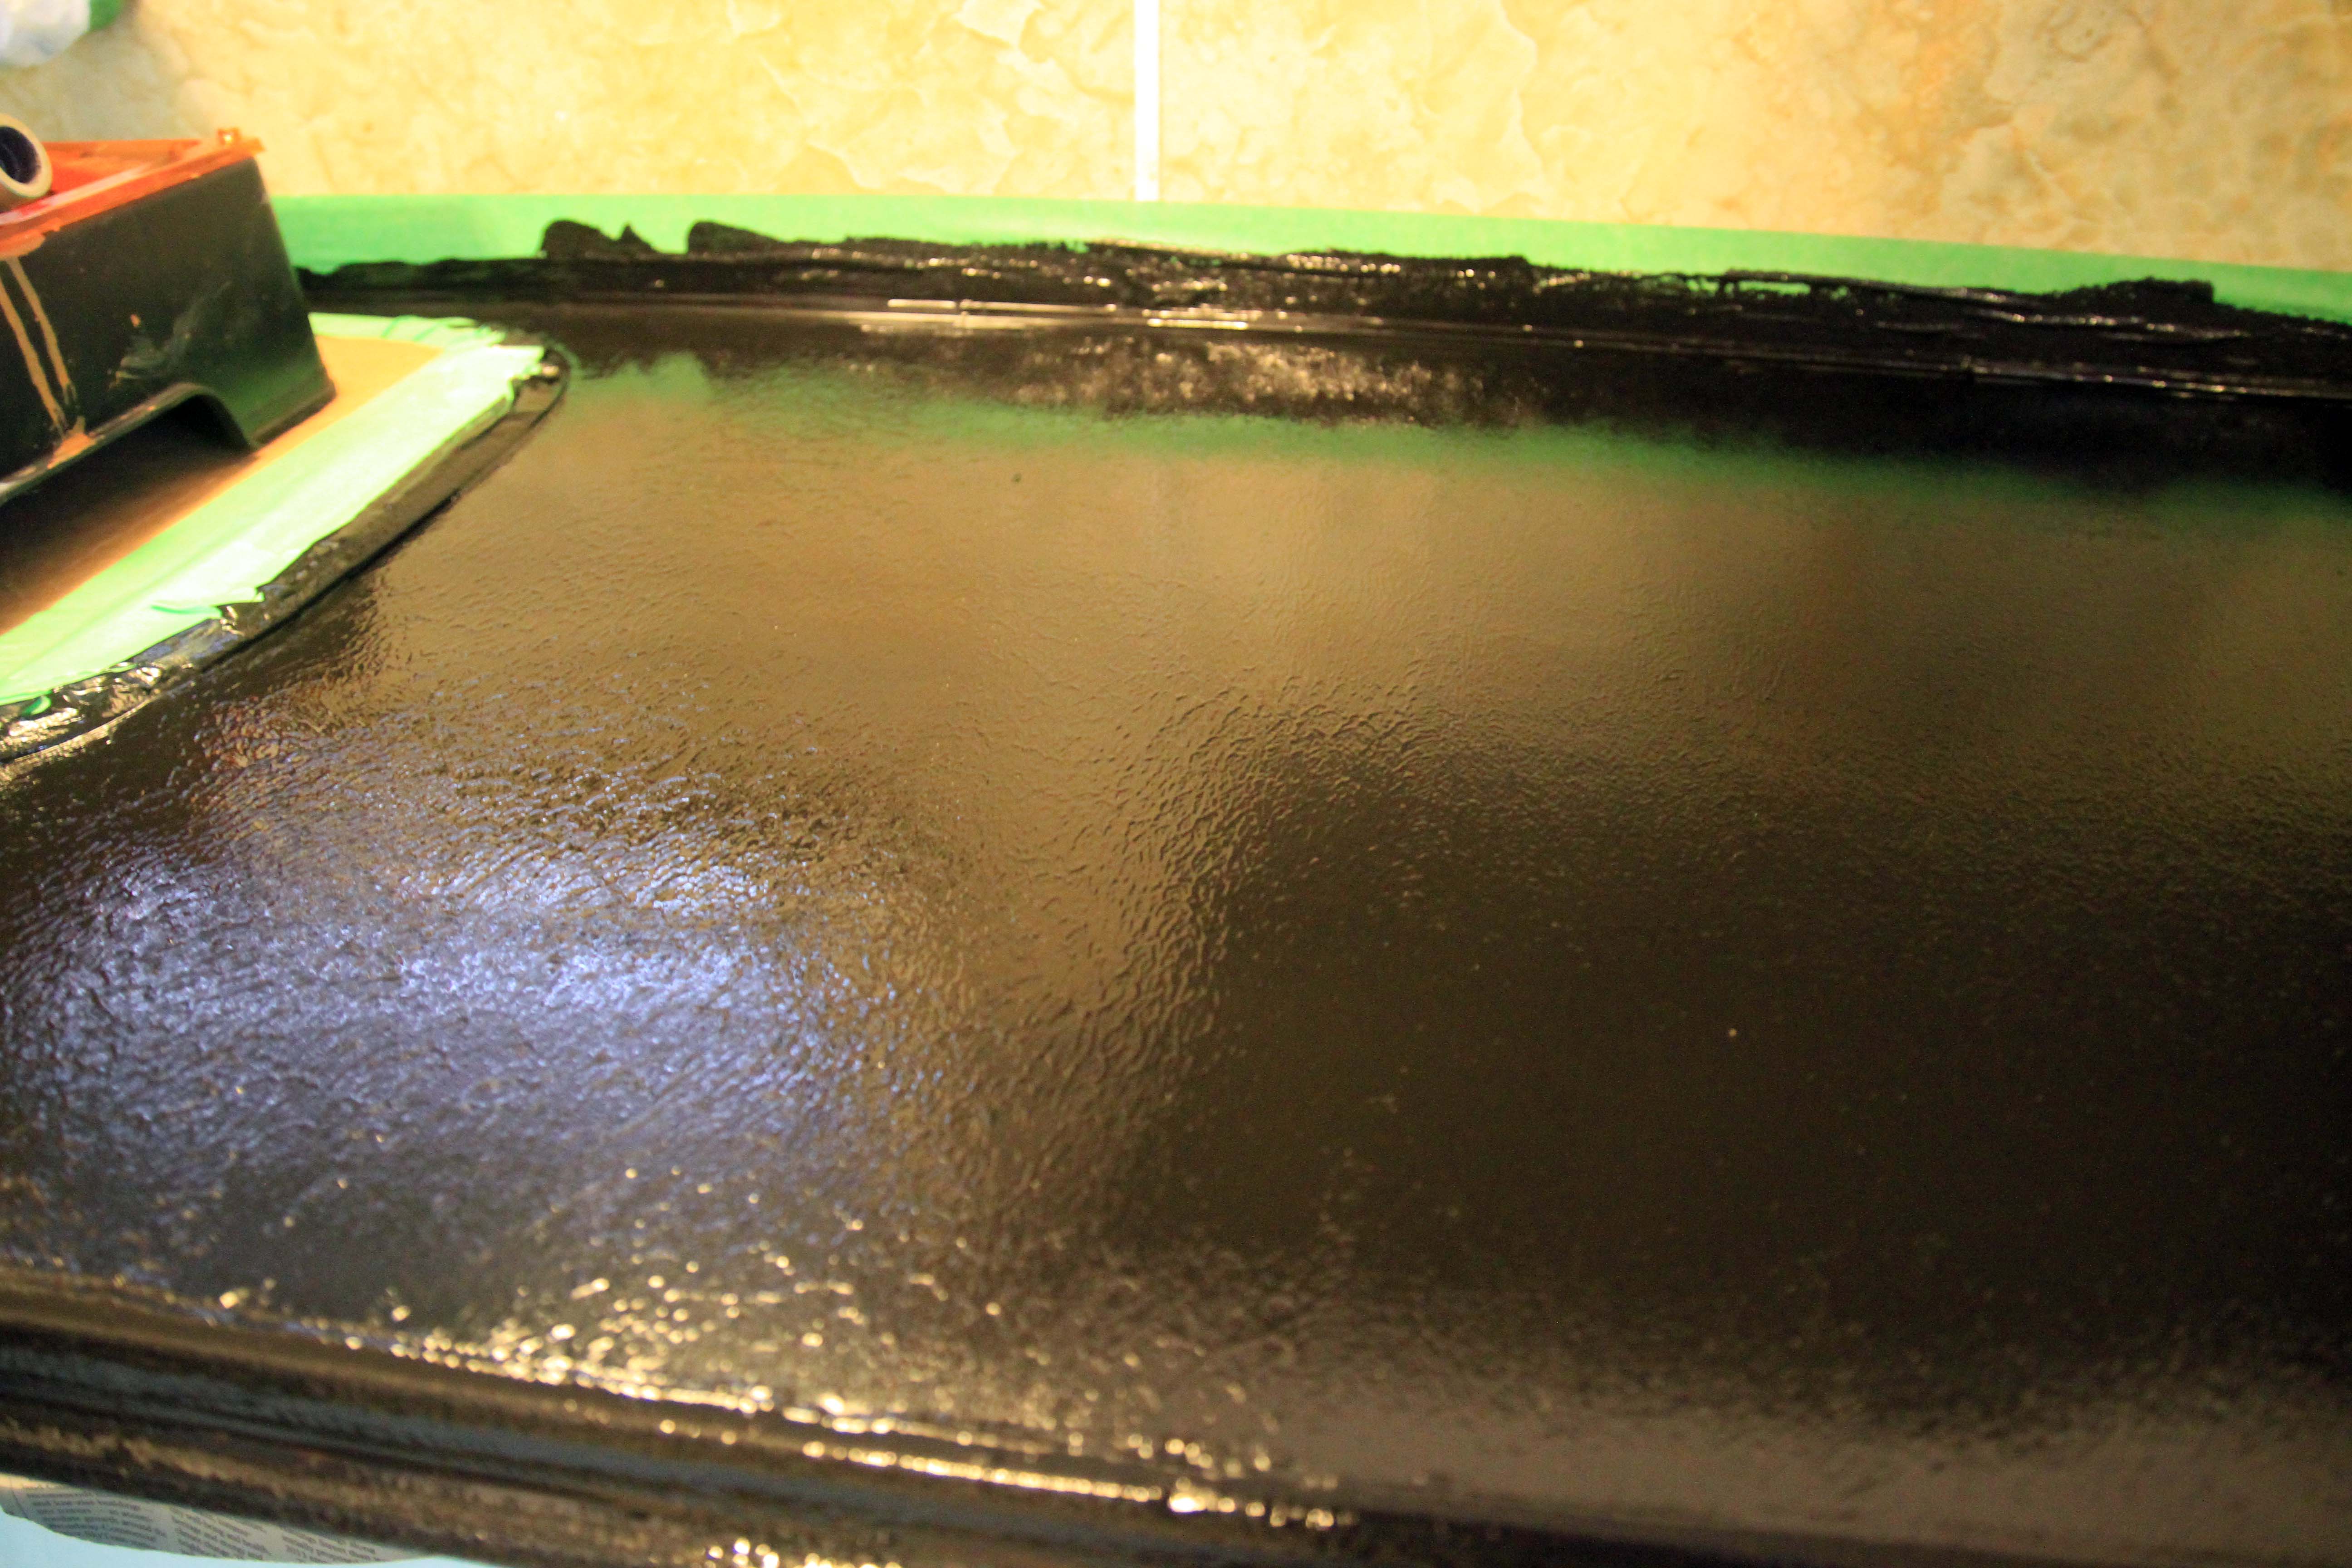
The next step is to add the protective glossy coat. I made the mistake of using an old roller. Don’t make the same mistake — use a brand new one! Once again, don’t expect to re-use this roller. It will be a one time application.
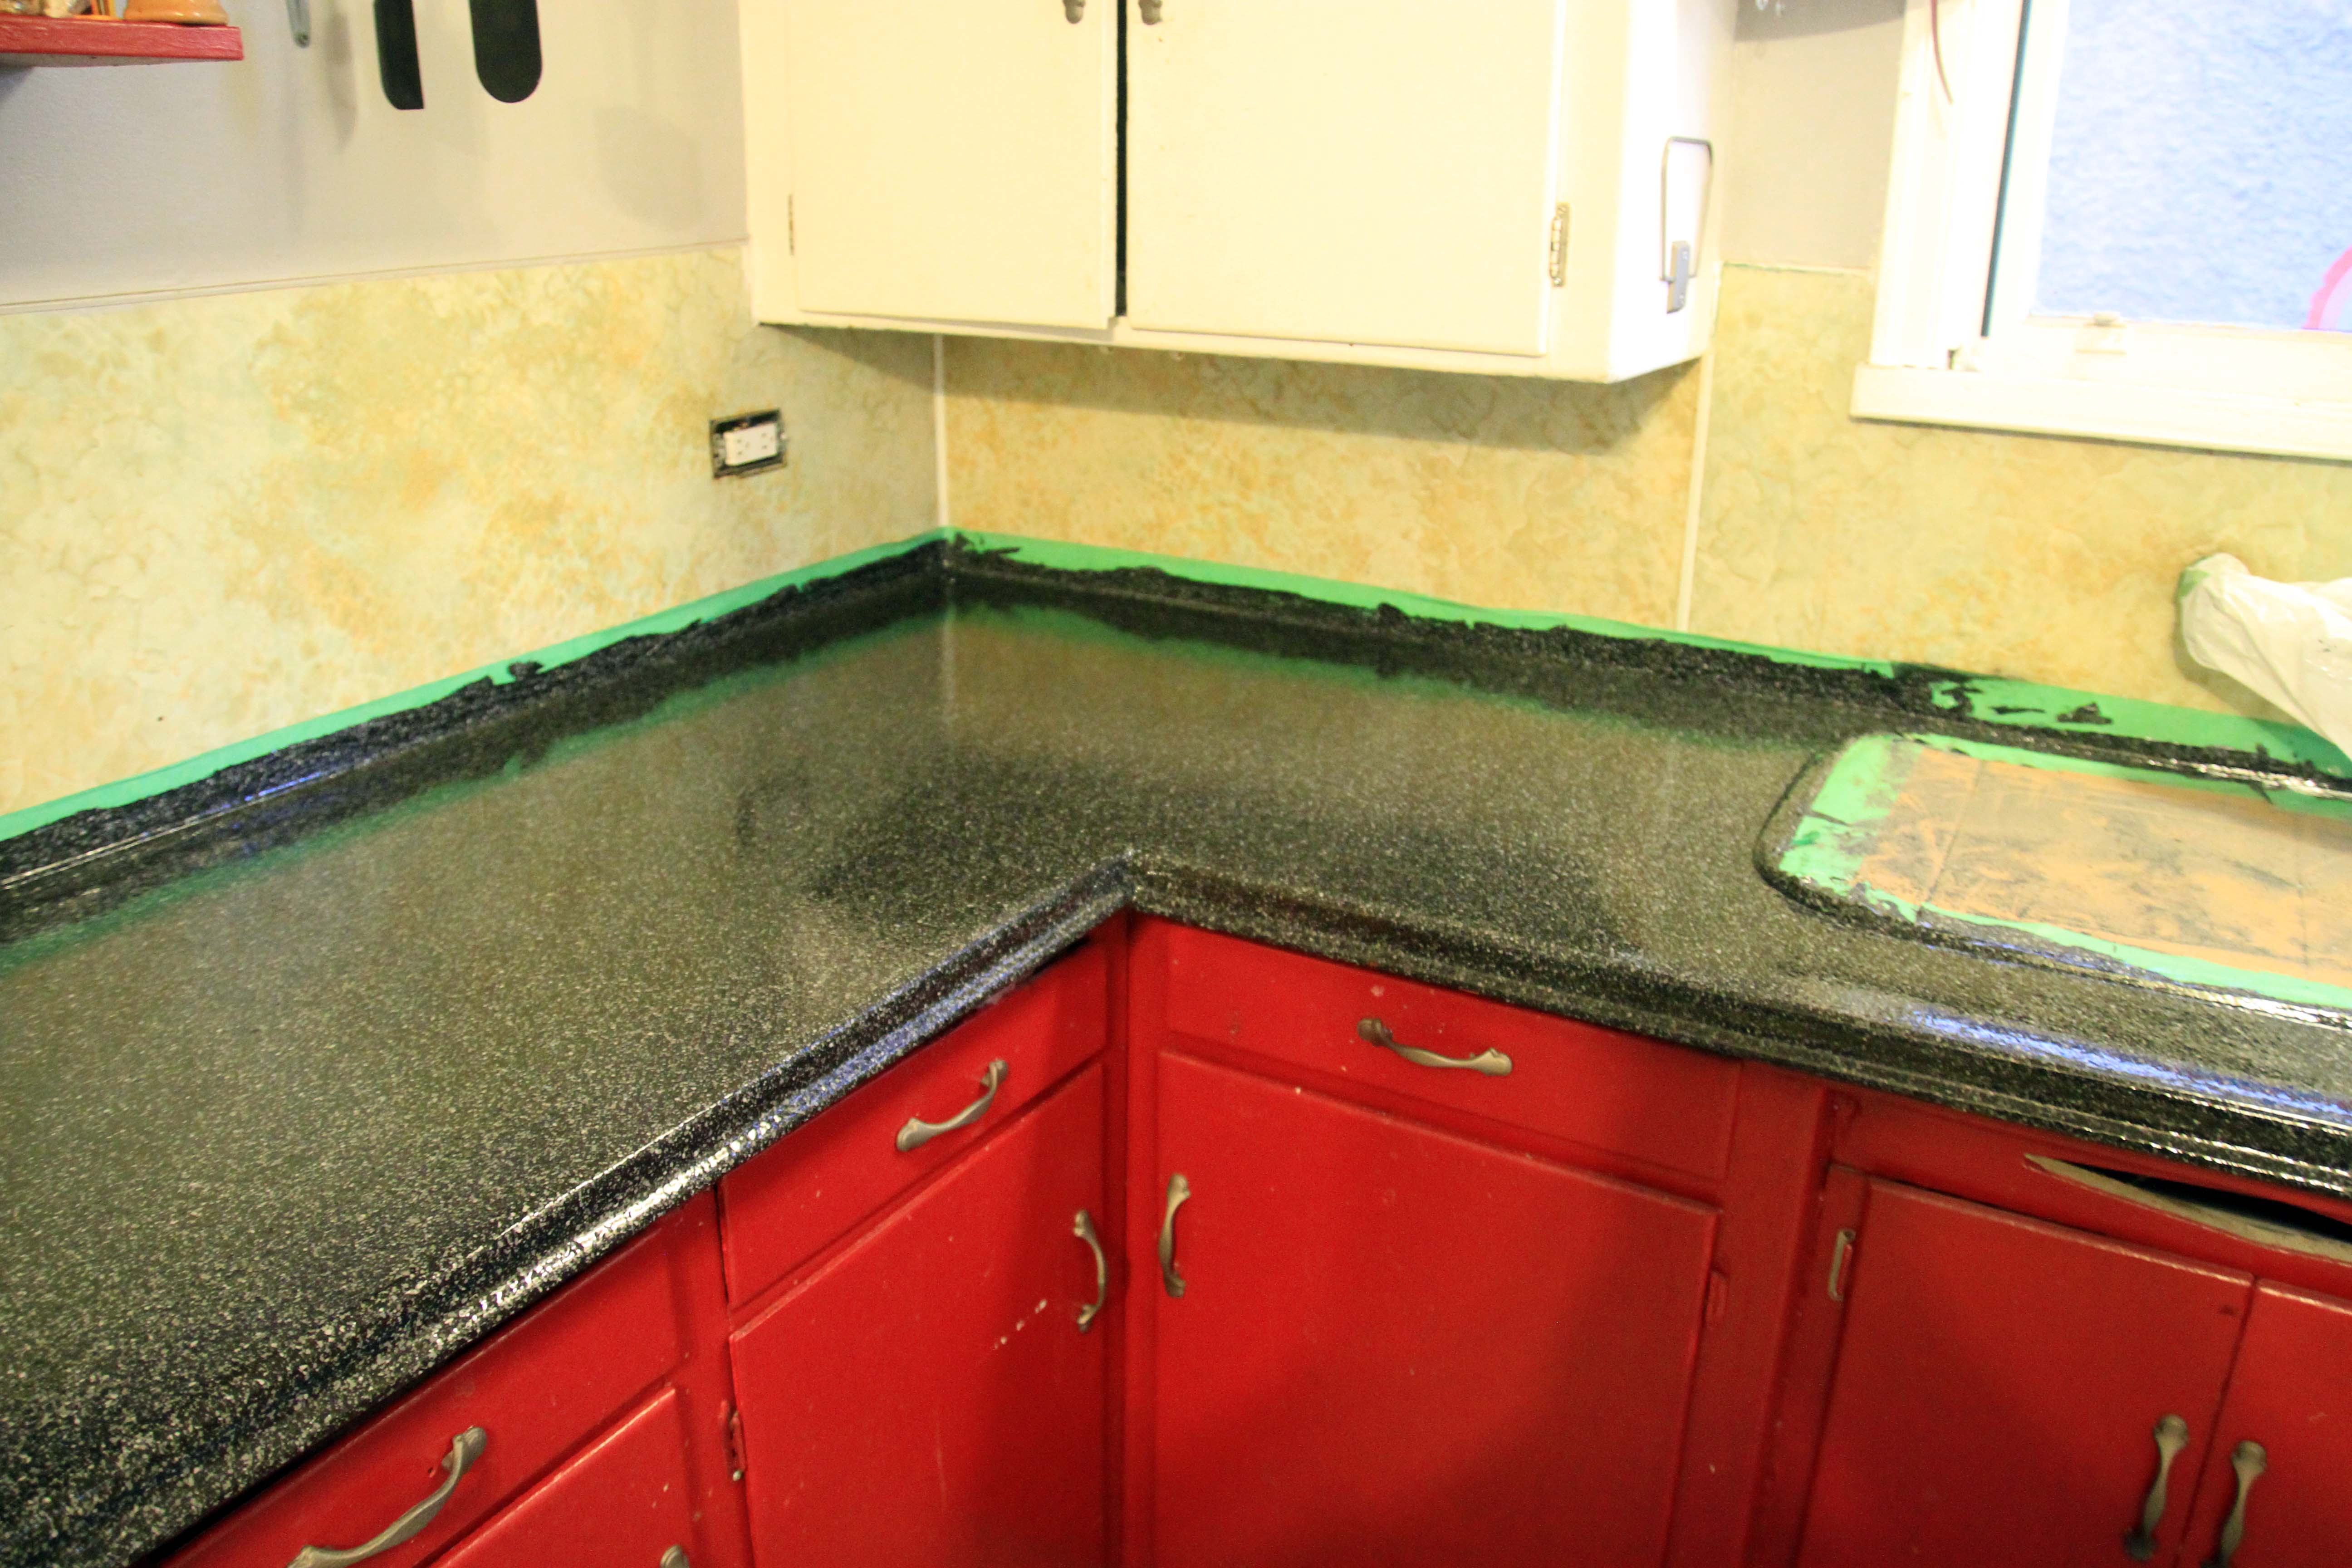
Lay it on nice and thick, and even. As we used an old roller, it wasn’t perfectly smooth when it dried. This shouldn’t matter though, as I believe it will smooth down in time after use.

The kit recommends an entire week before you use the countertop, so we timed this to coincide with our vacation to LA. If you aren’t going away, this will seem like an eternity.
When we came back from vacation, the counter looked beautiful! But we knew we needed to do one more step — replace the backsplash. Once again, not wanting to spend massive amounts of money, we used the simple solution of just using stickers.
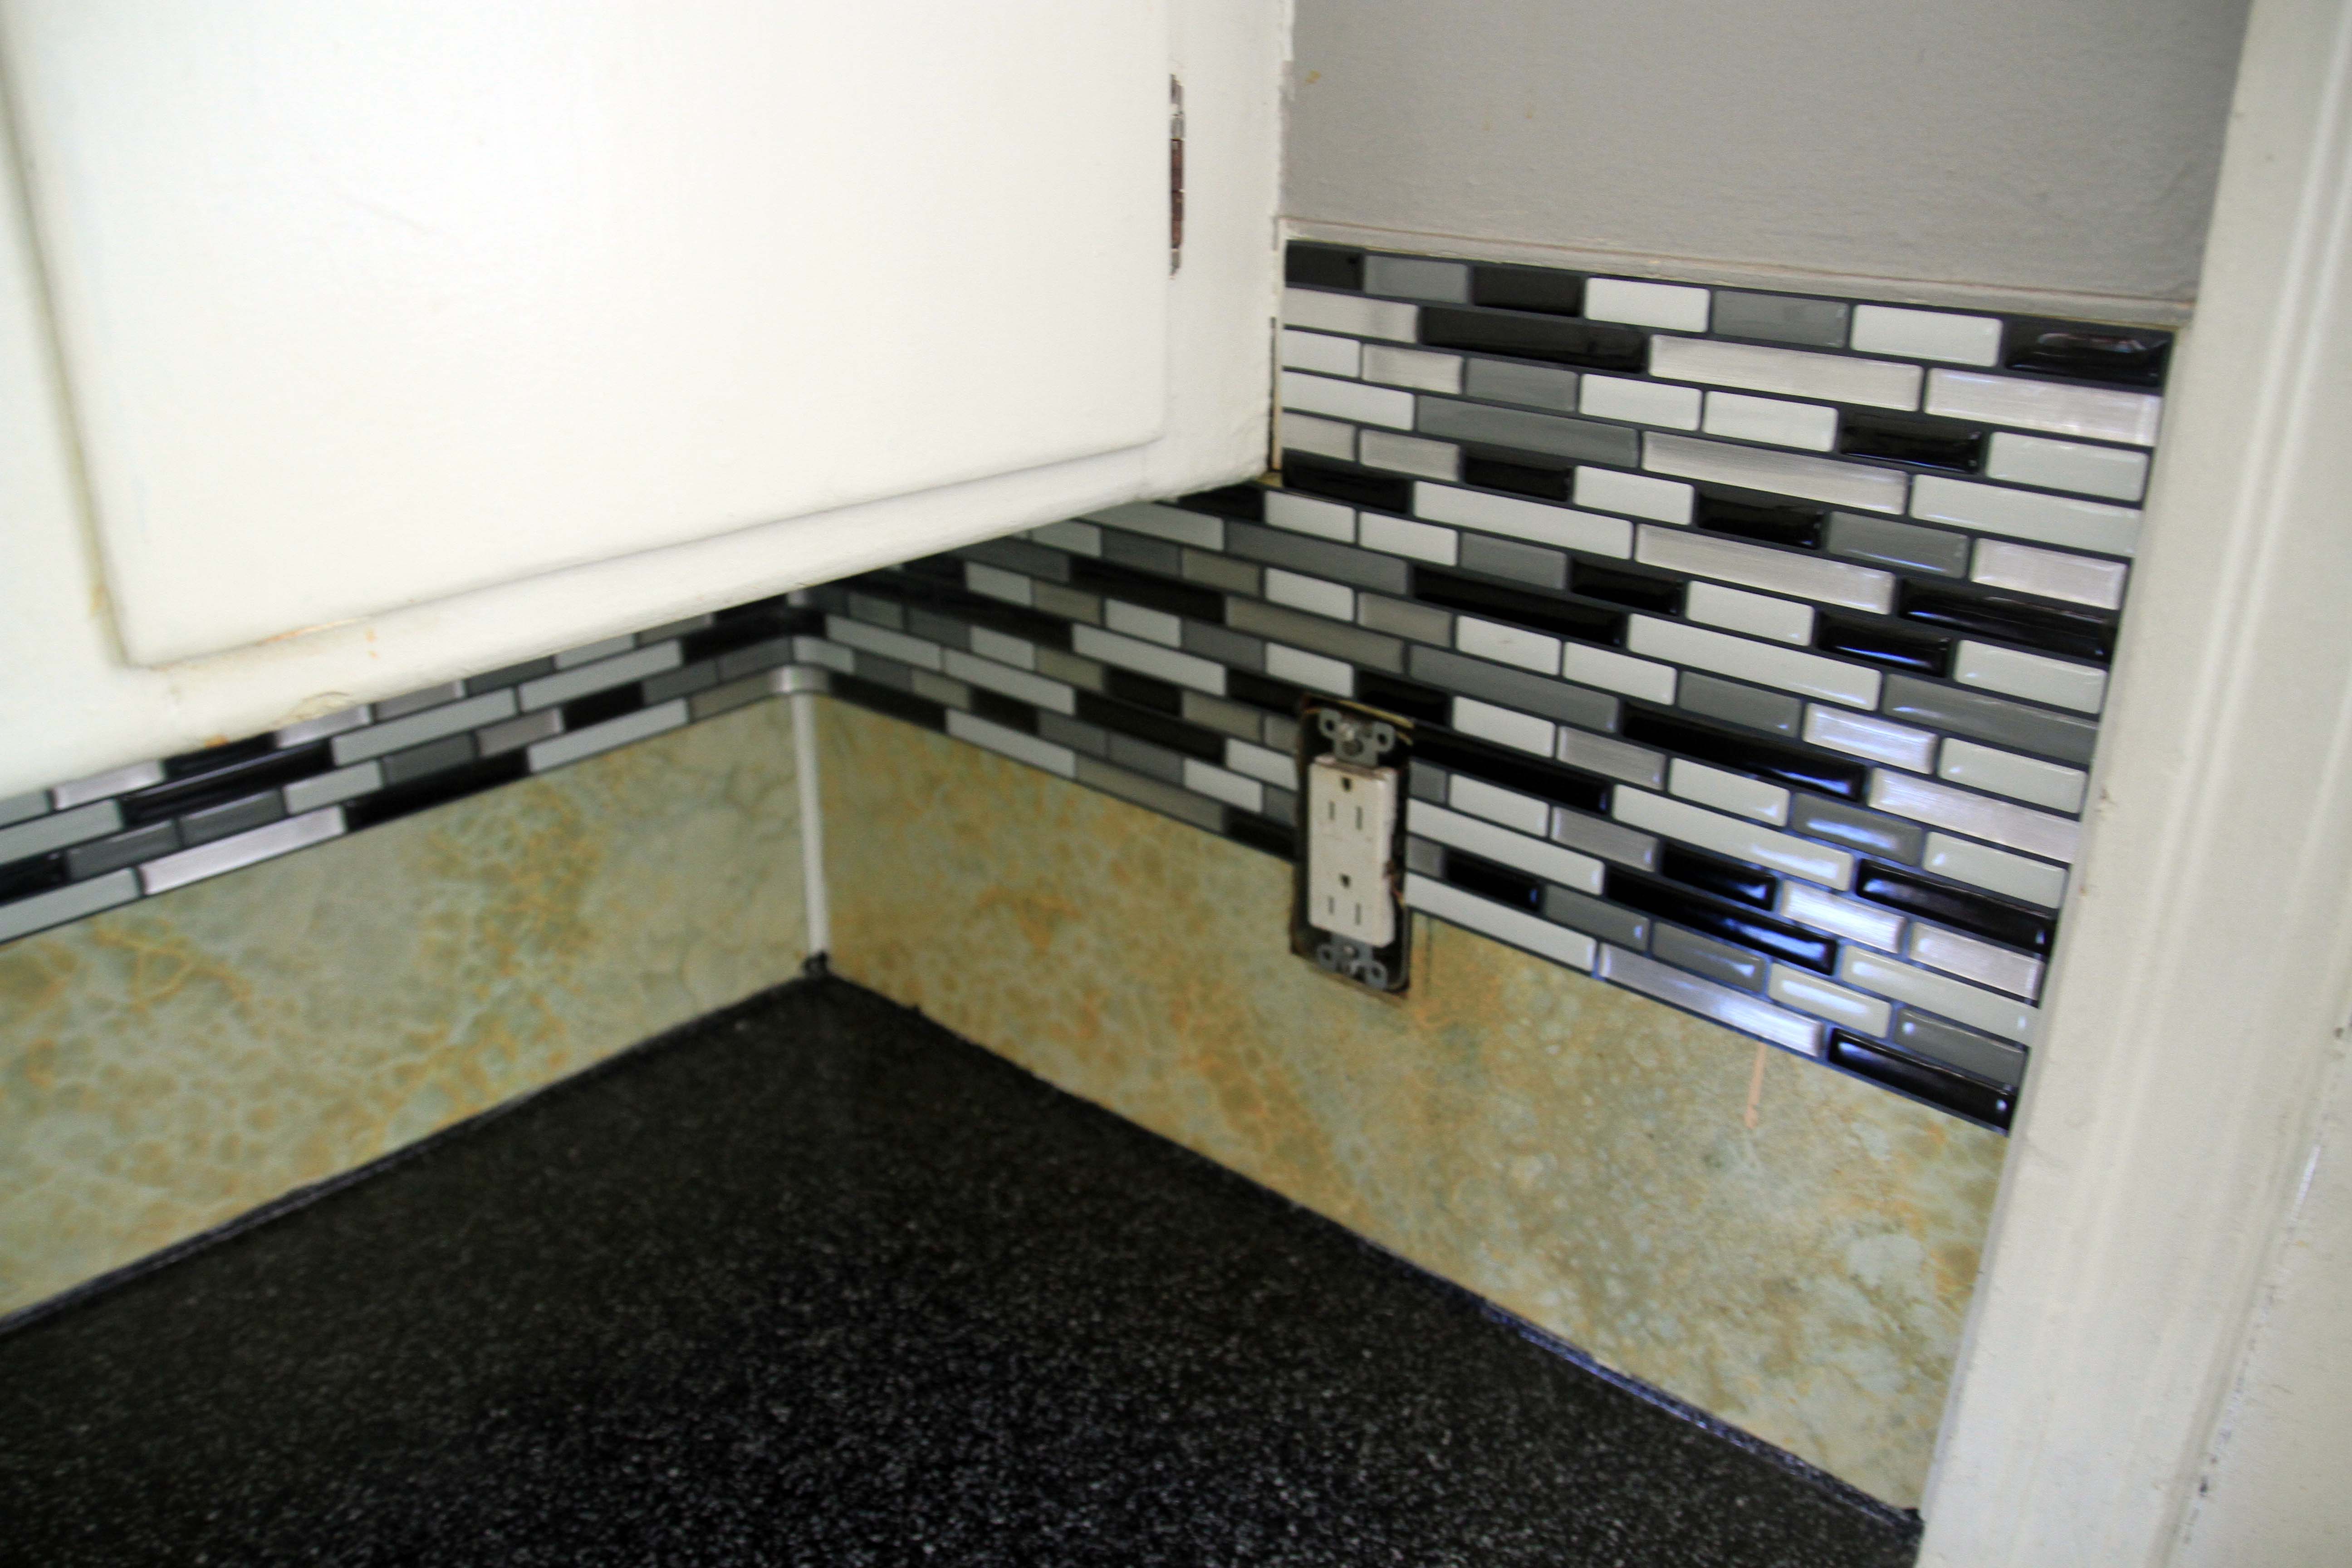
Protip: caulk the edges still to form a waterproof layer between the ’tile’ and countertop. It helps keep everything in place.

The results truly were remarkable for a $250 kit. Using it for a week now, it appears to be extremely durable. Time will tell how it holds up though.
Next project, resurfacing the floors!
